How to Use the Social Planner in RightBlogger
Schedule posts across connected accounts, tailor captions by network, and review recurring automations before they publish.
The Social Planner lets you write, schedule, review, and publish social posts from the same RightBlogger project you use for your blog. You can publish a one-time post, tailor its caption for each network, or create a recurring social automation.
Each project’s calendar, connected accounts, drafts, and automations stay separate. Start by selecting the project for the site or brand you want to promote.
Before You Start
Social publishing is available on current paid plans. The networks shown when you connect an account depend on the project owner’s plan:
- Solo includes LinkedIn.
- Pro and Agency also include X, Facebook Pages, Threads, and Pinterest. Each pin needs an image and goes to the board you choose.
Your plan also controls how many social accounts you can connect. If you are working inside someone else’s project, the project owner’s plan and account allowance apply.
Connect a Social Account
You can connect an account from the Social Planner or from the project’s integration settings.
- Open Social Planner and choose the correct project.
- Select Connect accounts. You can also open Projects, choose a project, and go to Integrations > Social Accounts.
- Choose an available network and complete its authorization screen.
- Select the profile, company page, or Facebook Page you want RightBlogger to use when the network asks.
- Return to RightBlogger and confirm that the account appears as connected.
Facebook publishing works with Facebook Pages, not personal profiles. Threads connects through the Instagram account associated with your Threads profile.
Let a Client Connect Their Own Account
Project owners can select Invite a client to connect under Social Accounts. RightBlogger creates a secure link that works for seven days, and the client does not need a RightBlogger login or need to share a password.
The client can connect multiple accounts through the link. Each account attaches to that project automatically, and posting stays limited to the profile or page the client selected. You can revoke an unused link at any time.
Create and Schedule a Social Post
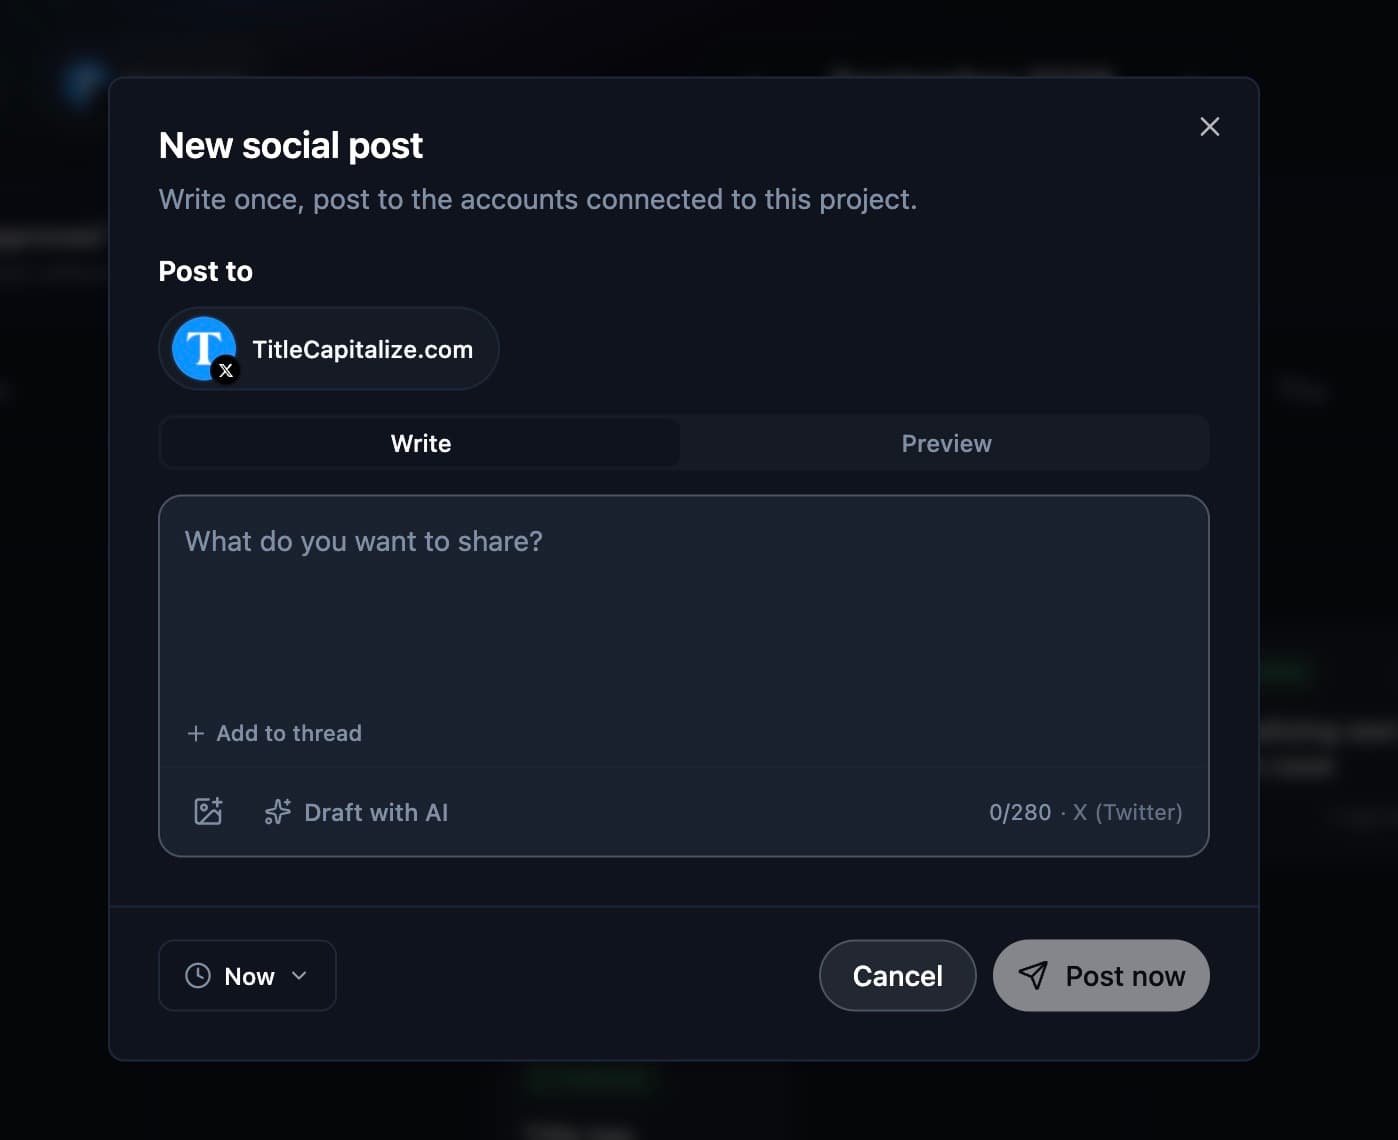
- Open the Social Planner and select New Post.
- Choose one or more connected accounts.
- Write your caption. Select Draft with AI if you want RightBlogger to help write it.
- Add an image or video when needed. The composer checks the selected networks and warns you about incompatible media or account-specific limits.
- Choose Post now or set a date and time with Schedule post.
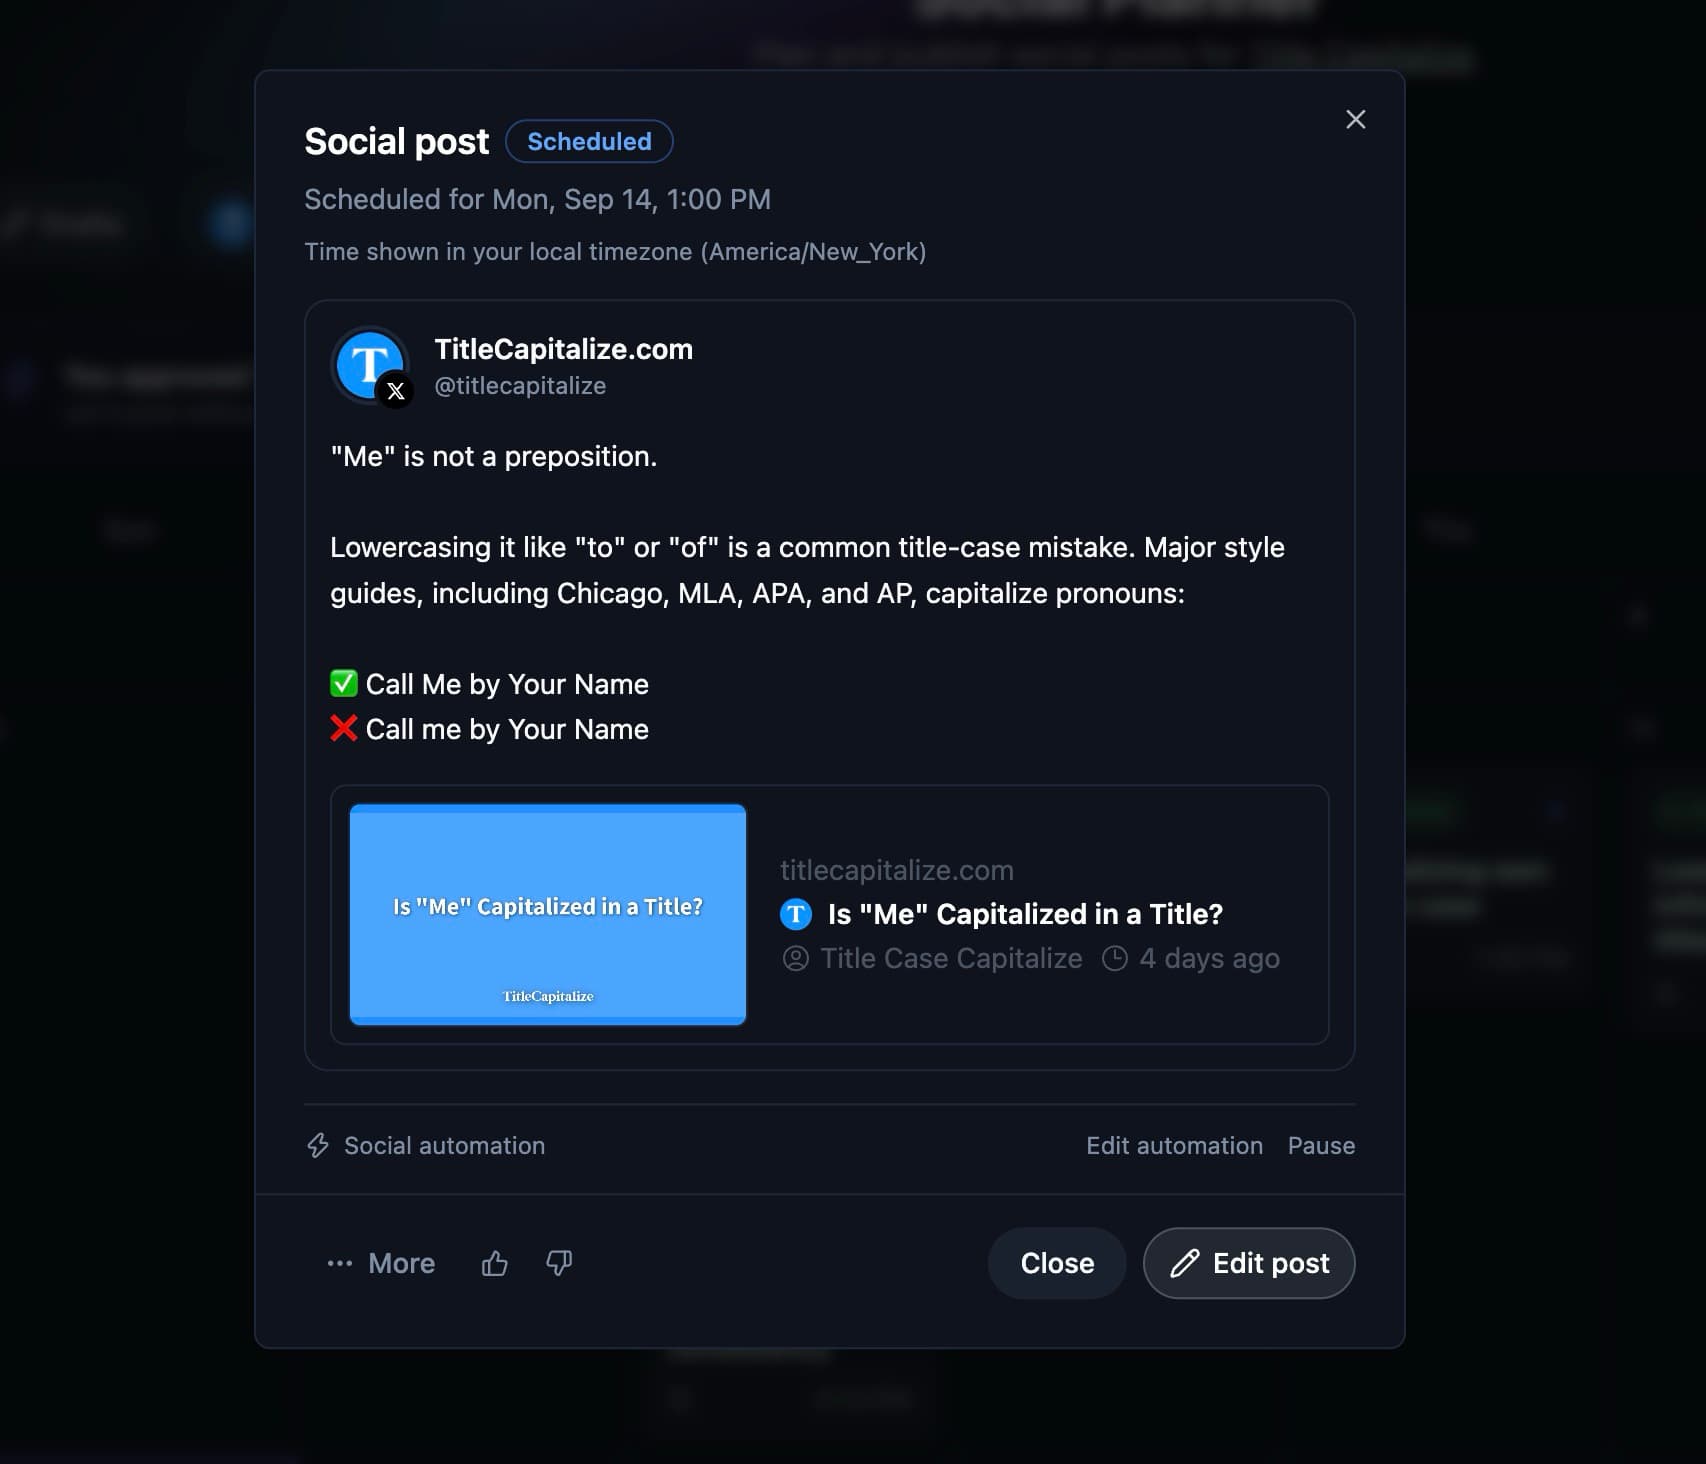
A scheduled post appears on the calendar for its chosen date. Open it to review the caption, destination accounts, media, and delivery status.
Customize the Post for Each Network
By default, RightBlogger uses one caption across the selected accounts. Select Per network when a LinkedIn post should read differently from its X or Threads version. Editing one network’s caption does not replace the others.
The composer also shows network-specific options when they apply. For example, supported networks can include a first comment, while X and Threads can continue the post as a native thread. Only the networks that support an option will receive it.
Review Posts on the Calendar
The calendar combines manual posts, scheduled posts, and posts prepared by social or blog automations. Their status tells you what happens next:
- Draft means the post is saved or waiting for approval.
- Scheduled means it is ready to publish at the displayed time.
- Publishing means delivery is in progress.
- Published means every selected destination completed successfully.
- Partial means at least one destination succeeded and another failed.
- Failed means the post did not publish and can be reviewed or retried.
You can edit local drafts and scheduled posts before they go out. Cancelling a reusable post moves its content to Drafts, so you can open it later without scheduling it by accident. Failed posts include a retry action after you fix the caption, media, or connection problem.
Create a Social Automation
A social automation keeps your selected accounts active on a recurring schedule. Open Automations in the Social Planner and choose what RightBlogger should share:
- New articles from your site
- Practical tips written in your voice
- News from your niche with source links
- Older articles with fresh captions
Next, choose the posting days and time, destination accounts, and approval mode. The preview shows sample posts before you save the automation. Advanced settings let you control link placement, image use, post format, shared instructions, and instructions for a specific account.
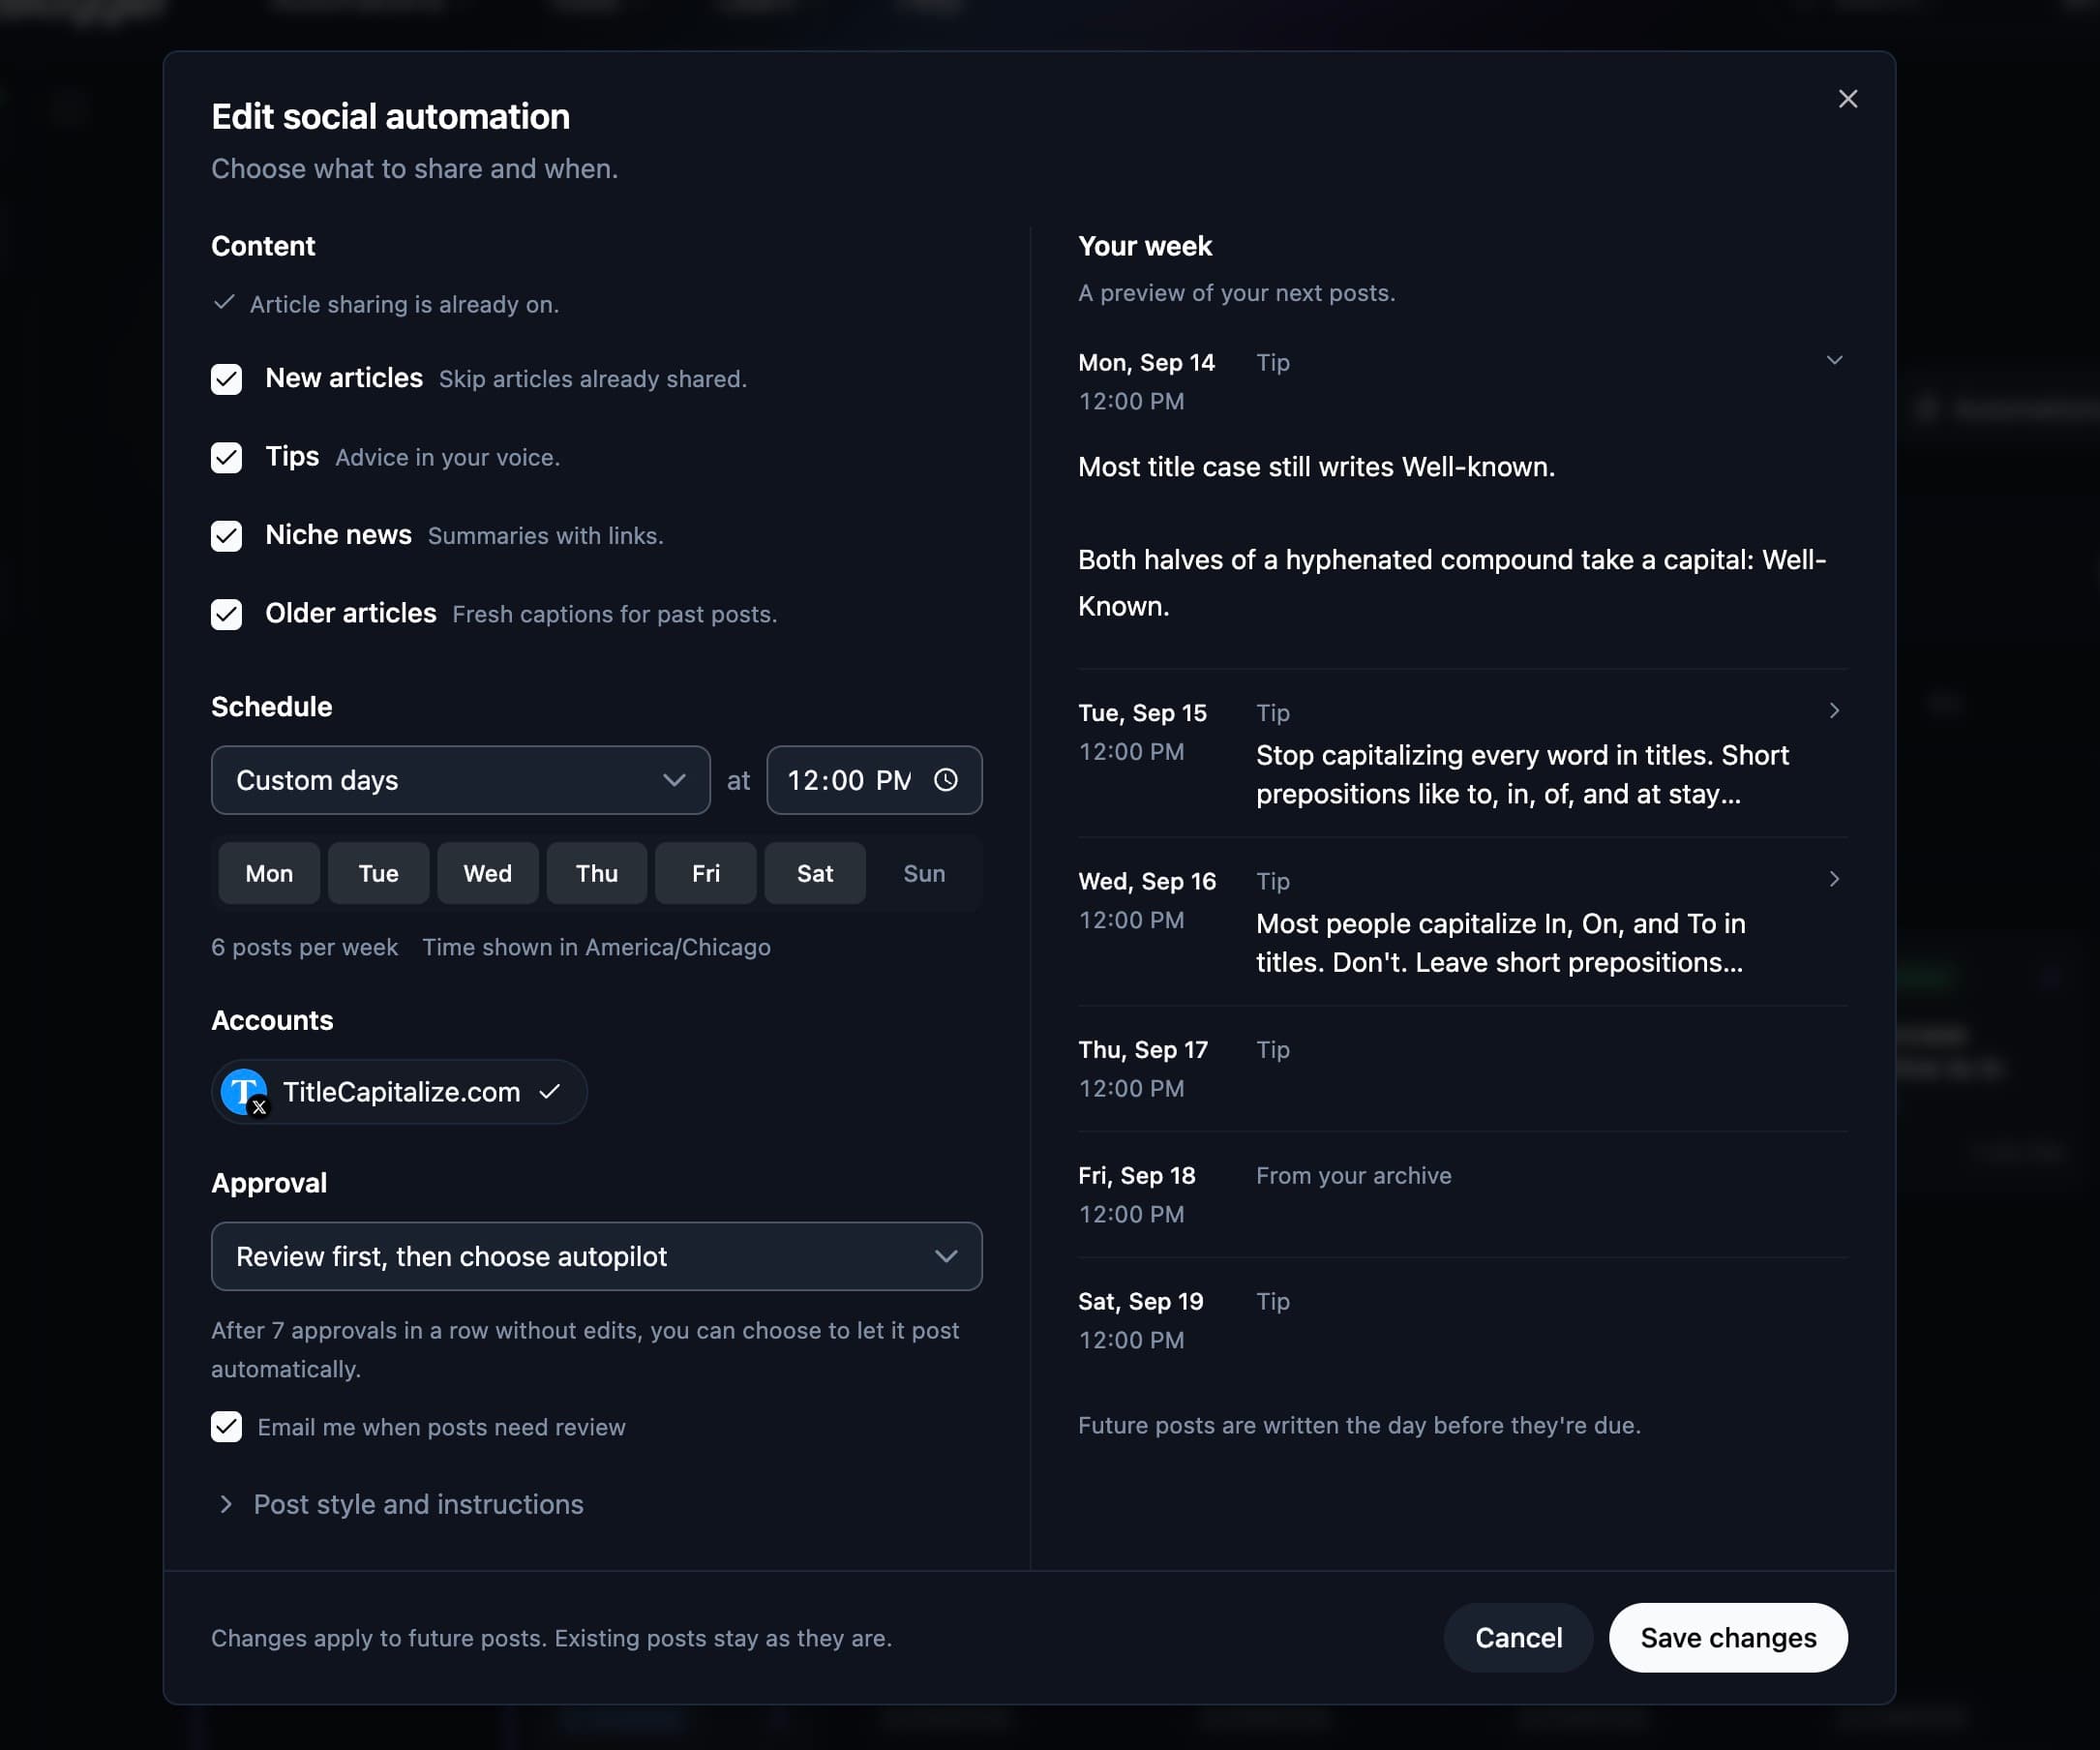
The available approval modes are Always review before posting, Post automatically, and Review first, then choose autopilot. Review mode can email you when a post needs attention. After enough posts are approved without changes in the gradual review mode, RightBlogger offers to let that automation post on its own.
Sharing each newly published article from a blog automation is managed in the Content Planner. Standalone social schedules are managed in the Social Planner. The main RightBlogger automations guide explains the blog publishing side.
Pause, Edit, or Delete an Automation
Open Automations and select the schedule you want to change. You can update its sources, timing, accounts, instructions, or review mode. Pausing an automation cancels posts it already had waiting, and resuming it starts filling future slots again.
Deleting an automation also cancels its waiting posts. Published posts remain on their social networks.
Common Social Planner Questions
Do I Need a Connected CMS?
No CMS connection is required to write and schedule a manual social post. A social automation can also watch the website URL saved in your project for new articles. Connecting your CMS is still useful for coordinated blog publishing and article-sharing workflows.
Why Is a Social Network Missing?
The connection dialog only shows networks included with the project owner’s plan. At your plan’s connected-account limit, RightBlogger asks you to disconnect an account before adding another. Review your plan or remove an unused connection before trying again.
Why Did a Scheduled Post Fail?
Open the failed post to read the delivery message. Common causes include an expired social connection, media that the network rejected, or a network-specific caption limit. Reconnect the account or edit the post, then use Retry.
Start With One Week
Connect one account, schedule a few manual posts, and review how they look on the calendar. Once that flow feels right, create a social automation in review mode. You will see the exact captions before anything publishes, and you can move to automatic posting when you are comfortable with the results.
Still need help?
Ask the AI assistant for an instant answer, or reach us directly and we will get back to you as soon as we can.
Automated SEO Blog Posts for Your Site
Research, write, publish, and share from one account.
7-day free trial. Cancel anytime.