XML Sitemap Setup for Blogs in 2026 (With Examples)
Keep only canonical URLs, skip junk pages, and ignore priority and changefreq.

Ever publish a post you know is good, then wait… and wait… and it never shows up in search?
The fix usually isn’t “write more content.” It’s making your site easier to crawl, so search engines can find your new posts without guessing.
That’s why good XML sitemap setup is still important in 2026. Think of your sitemap like a table of contents you hand to Google and Bing. It assists search engine bots during the discovery process to ensure new content is found efficiently. It doesn’t guarantee rankings, but it can make it easier to achieve them.
Key Takeaways for XML Sitemap Setup
- A sitemap should list only index-worthy URLs, not everything on your site.
- In 2026, Google still cares about clean URLs and crawl efficiency, and it ignores the
changefreqtag andprioritytag. - Use the
lastmodtag only when it’s accurate; fake dates can backfire. - Large blogs should use a sitemap index file and split files by type or section.
- Submit your sitemap in Google Search Console, then monitor errors before they snowball.
What Matters in a Blog Sitemap in 2026 (And What Google Ignores)

A sitemap lets search engine bots navigate your site structure easily, facilitating the crawl and index cycle.
If your internal linking is already perfect, a sitemap helps a little. If your blog is new, your archives are deep, or you publish often, it helps a lot.
In 2026, the “rules” are simple:
- Your sitemap should include canonical, clean, HTTPS URLs. If a URL redirects, don’t list it.
- Include posts and pages you actually want indexed. Skip noindex pages, thin tag pages, internal search results, and duplicate URLs.
- Use
lastmodonly when it reflects real changes. If you update every post date daily, Google won’t use this value (in Google’s words, it needs to be “consistently and verifiably” accurate).
If you use a CMS like WordPress, it will usually create a sitemap for you automatically. You can also install an SEO plugin like Yoast SEO or Rank Math, and it will handle your sitemap for you.
Google also continues to ignore a couple fields people love to tweak. The changefreq tag and priority tag aren’t worth your time, as Google won’t take them into account. If you want to signal importance, your internal linking and site structure do the job better.
Tip: Not quite sure what a sitemap is or feeling a bit lost with these tags? Our essential sitemap guide for bloggers is a great starting point for getting up to speed.
XML Sitemap Setup on WordPress, Ghost, Webflow, and Static Blogs
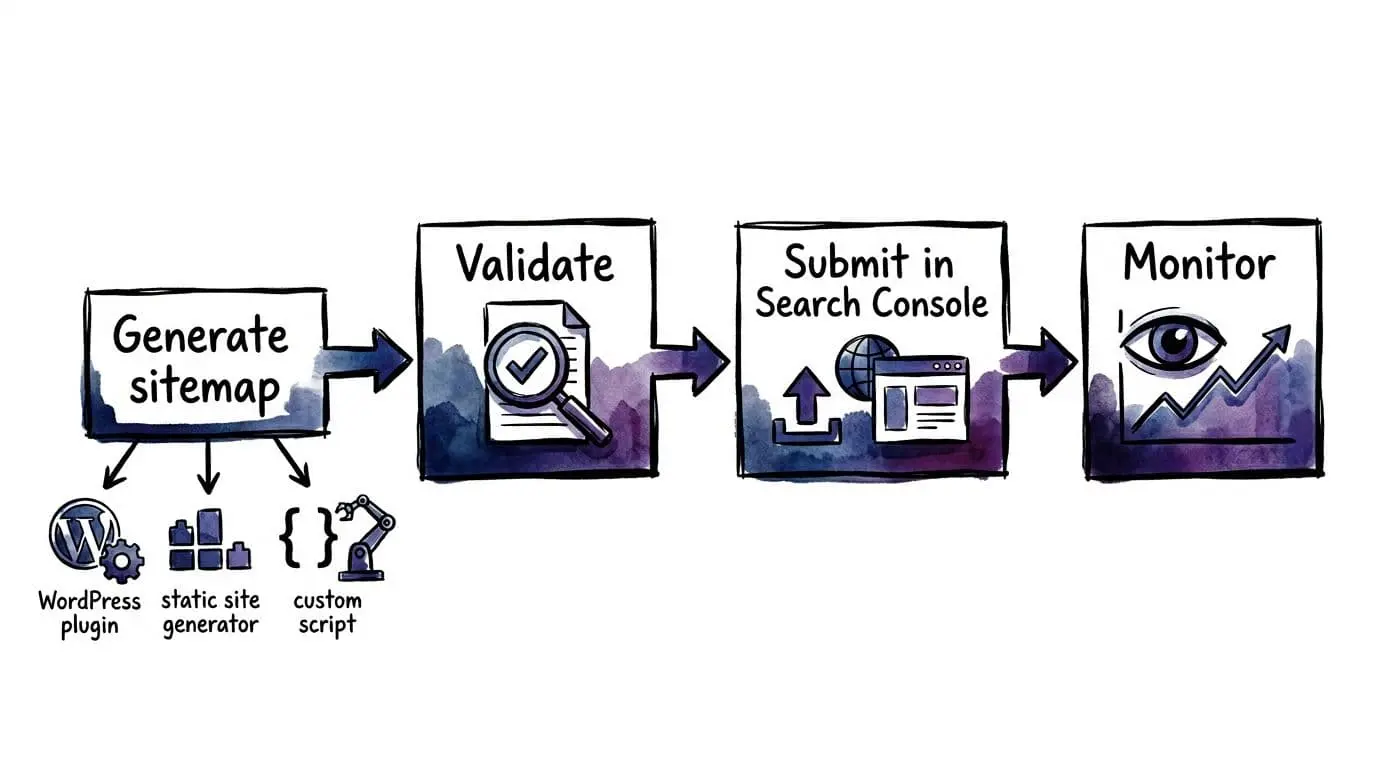
XML sitemap setup for a blog is simple, no matter the platform. The basic workflow looks like this:
- Find or generate the sitemap URL. Many platforms auto-create it.
- Open it in a browser. If it doesn’t load, fix that first. Typically the url is /sitemap.xml or /sitemap_index.xml.
- Confirm it lists the right pages. If it includes junk, clean it up.
- Make sure it uses dynamic sitemaps that update automatically. Blogs change daily, your sitemap should too.
- Add the sitemap to the robots.txt file. This helps crawlers discover the sitemap faster.
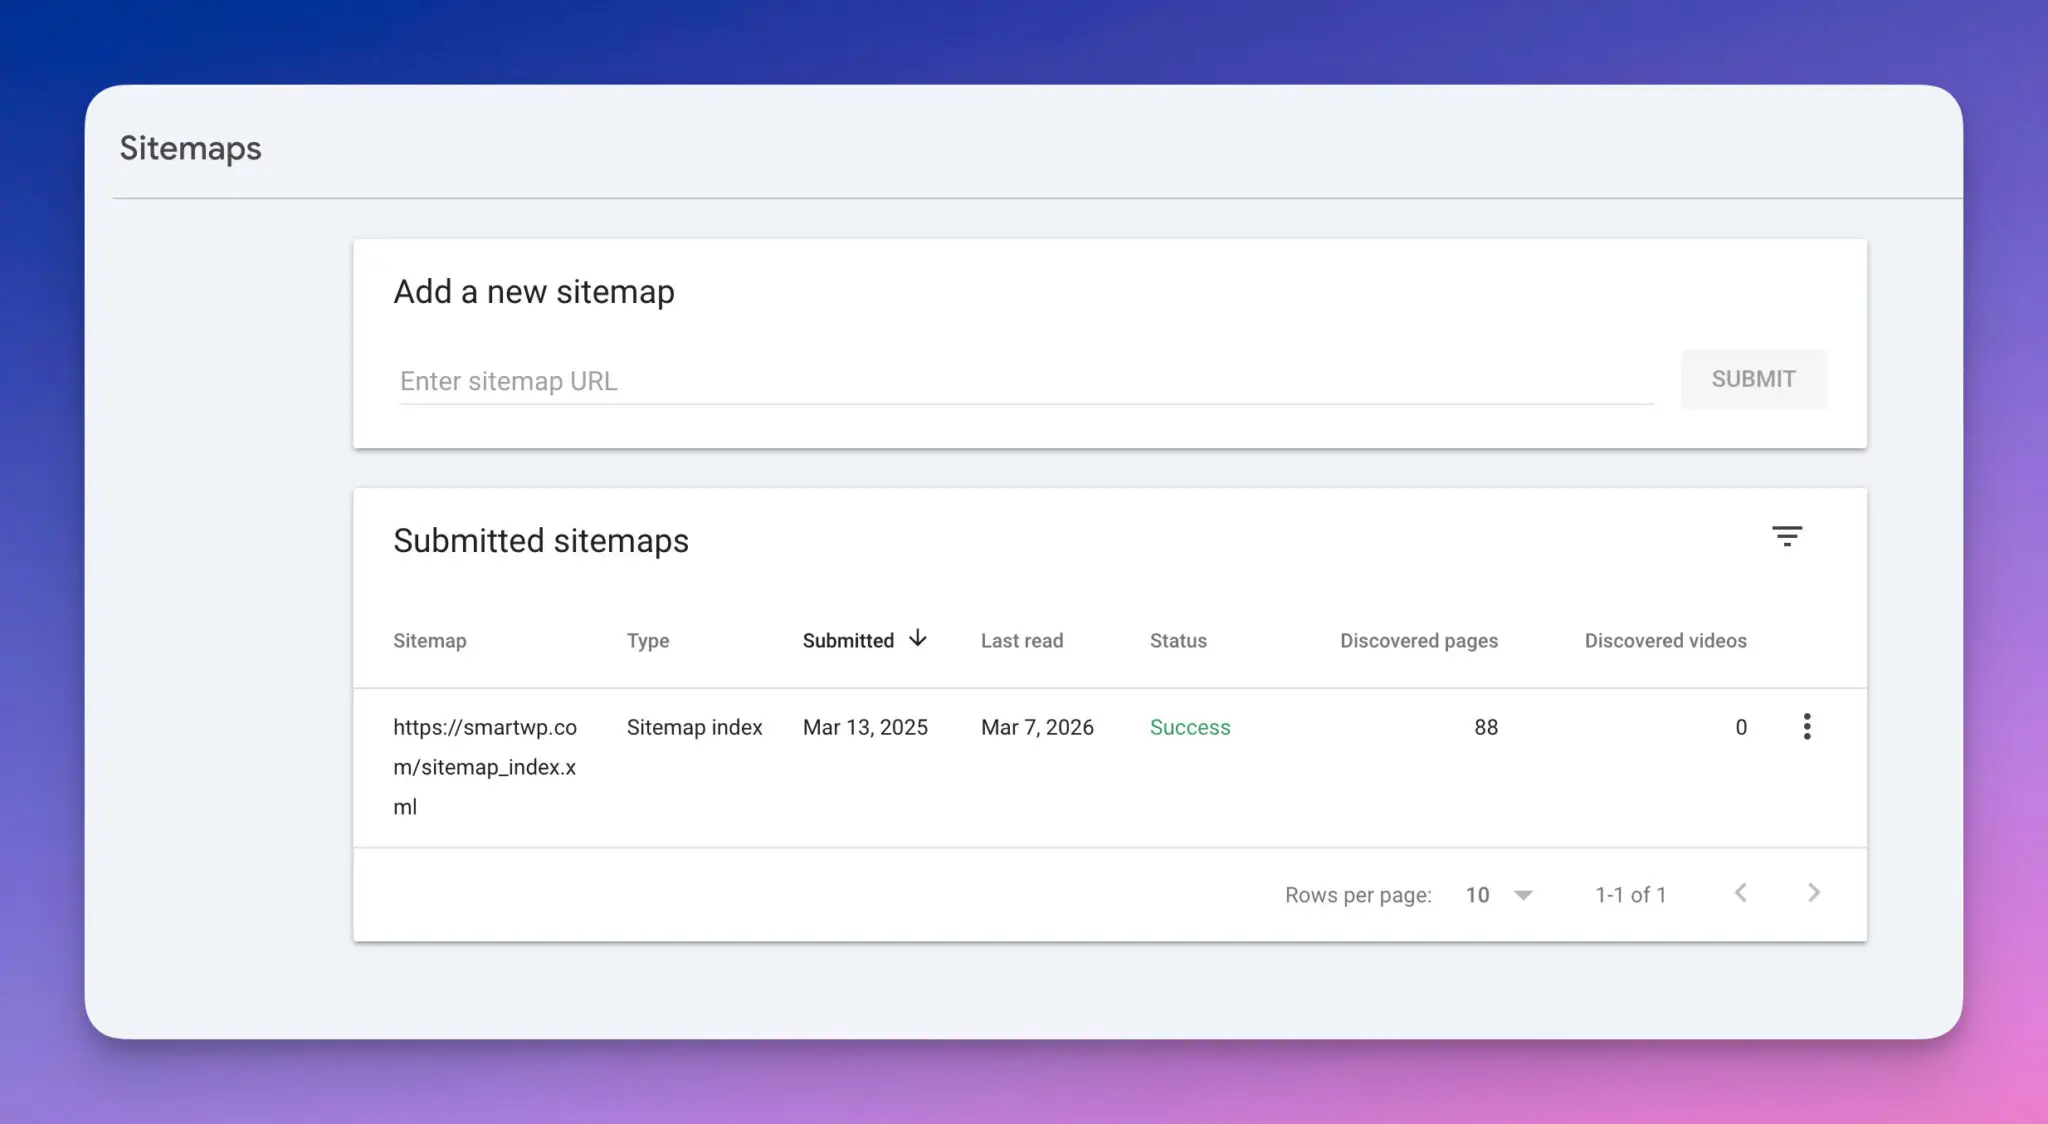
- Submit it in Google Search Console and watch for errors. You can then quickly fix these before your traffic nosedives.
Let’s take a look at some specifics of different platforms.
WordPress (Built-In Sitemap)
WordPress will (since version 5.5) generate a sitemap automatically (a built-in sitemap), which you’ll usually find by adding /sitemap.xml to your domain, like this:
yourdomain.com/wp-sitemap.xml
Many bloggers use SEO plugins to generate the sitemap, and that’s fine too. It’ll give you more control over what’s included (e.g. you can exclude thin tag archives).
Ghost and Webflow (Usually Easy)
Ghost and Webflow typically make this painless, with Ghost having introduced built-in sitemaps way back in 2014. The sitemap exists, it’s readable, and it updates. Your main job becomes quality control: keep only canonical URLs, and don’t let filtered duplicates sneak in.
Shopify
Shopify also handles sitemaps automatically, which makes things fairly easy for most bloggers and store owners. Shopify generates a sitemap at /sitemap.xml for every store and updates it automatically when you add products, pages, or blog posts. This sitemap is structured into smaller sections, usually for products, collections, pages, and blog articles.
The main limitation is control. Shopify does not allow much customization of the sitemap itself. You cannot easily remove specific URLs or manually edit the structure unless you use workarounds or apps. In most cases this is fine, but large stores should still review their sitemap occasionally to make sure things like filtered collection pages or duplicate URLs are not getting indexed.
For Shopify blogs specifically, the sitemap will include your blog posts automatically. As long as your posts are published and accessible, they will appear in the blog sitemap section and be discovered by search engines without extra configuration.
In practice, the best approach on Shopify is simple:
- Let Shopify generate the sitemap automatically
- Submit
/sitemap.xmlto Google Search Console - Periodically review indexed URLs to catch duplicates or unwanted pages
For most Shopify sites, sitemap management is largely hands-off compared to static frameworks or custom CMS setups.
Static Sites (Hugo, Next.js, Astro, etc.)
Static blogs are fast, but sitemap generation varies. Most setups can generate a sitemap at build time (e.g. here are Hugo’s details about the sitemap). Next.js also requires custom setup to facilitate a sitemap. Just watch for a common mistake: staging URLs accidentally getting shipped into production sitemaps. Always use absolute URLs to avoid these production errors.
XML Sitemap Examples You Can Use (Plus the Limits That Matter)
Let’s make this practical. Here are examples I use to sanity-check a sitemap quickly. These are provided in standard XML format with UTF-8 encoding for broad compatibility.
Example 1: A Single Blog URL Entry
A basic entry can be as simple as loc plus an accurate lastmod:
<url>
  <loc>https://yourdomain.com/blog/post-slug/</loc>
  <lastmod>2026-02-28T12:00:00Z</lastmod>
</url>
That date-time format is helpful, but only if it’s real. If you didn’t update the page, don’t update lastmod just to try to get more attention from Google: it could backfire if Google starts ignoring your lastmod values.
Example 2: Sitemap Index for Bigger Blogs
As your site grows, you’ll likely hit size limits. A single sitemap file can’t exceed 50,000 URLs or 50 MB (uncompressed file).
At that point, use a sitemap index file that points to multiple sitemaps.
<sitemapindex>
  <sitemap><loc>https://yourdomain.com/sitemaps/posts.xml</loc></sitemap>
  <sitemap><loc>https://yourdomain.com/sitemaps/pages.xml</loc></sitemap>
</sitemapindex>
This is why WordPress SEO plugins typically break up sitemap files into multiple files.
Submit, Monitor, and Fix Common Sitemap Errors (Before Traffic Suffers)
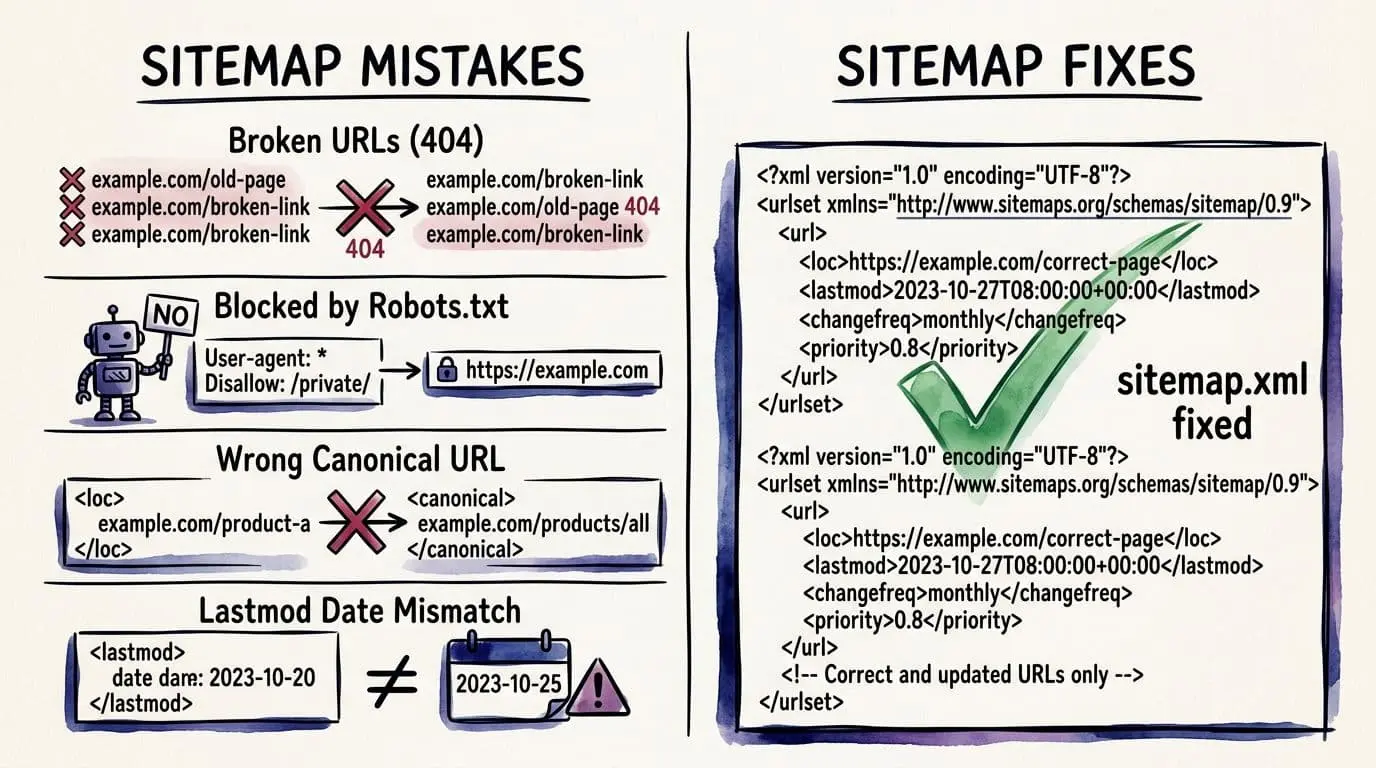
After your XML sitemap setup is live, it’s a good idea to audit it with Screaming Frog to check status codes like 404s and spot orphan pages. (This is part of good technical SEO.)
Then submit your sitemap to Google Search Console. Ideally, you want to check back weekly, especially if you publish a lot of content: watch out for any errors.
If you need to push a single page faster (like a fresh post or a major update), keep our guide handy on how to submit a URL to Google index.
The most common issues you’re likely to run across are:
- 404 or redirected URLs included in the sitemap
- noindex pages (robots.txt disallow or noindex) accidentally listed
- wrong canonical URLs, where the sitemap URL isn’t the canonical version
- lastmod tag mismatches, where the CMS updates dates that don’t reflect meaningful changes
- low-value archives, like thin tag pages that bloat the sitemap
Fixing these ensures Google can crawl and index your pages smoothly.
FAQs About XML Sitemap Setup
Do I Still Need a Sitemap if my Blog is Small?
Yes. Small blogs can benefit most from sitemaps because they often lack strong internal linking.
Should I Include Category and Tag Pages?
Include categories if they’re useful and unique. I usually skip tags unless they’re curated.
Text vs XML Sitemaps: Do I Need the XML Format?
Google accepts text sitemaps, but the XML format provides more detailed control and remains the top choice for most sites.
RSS and Atom Feeds vs Sitemaps: Do I Need Both?
Google recommends using both an XML sitemap and an RSS/Atom feed. But if you’re picking one or the other, go with an XML sitemap.
How Often Should My Sitemap Update?
Whenever you publish, delete, or meaningfully update a post. Auto-updates are definitely better than manual edits, and most content management software (e.g. WordPress) will automatically update your sitemap.
Can a Bad Sitemap Hurt Indexing?
It can slow things down. If Google sees lots of errors or junk URLs, it may crawl and index less efficiently.
Where Should My Sitemap Live?
Put it on your main domain, and make it easy to find (root is common).
Conclusion: Get Your XML Sitemap Setup Done (and Reap the Benefits)
A good XML sitemap setup is one of those boring tasks that pays rent every month.
Get it clean, keep it honest, submit it to Google Search Console after you verify domain property for the right permissions, then watch your crawl and index reports.
If you set it up once and maintain it, your posts will hopefully rank a bit more easily and you’ll support long-term site health.

Article by
RightBlogger Co-Founder, Andy builds websites and shares simple SEO tips. He also loves photography and travel.


New:Site Agent
Automated SEO Blog Posts That Work
Try RightBlogger for free, we know you'll love it.
- Automated Content
- Blog Posts in One Click
- Unlimited Usage


Leave a comment
You must be logged in to comment.
Loading comments...