Blog Post Introduction Generator
Generate a blog post introduction section from a topic or keyword.
Your blog post intro has one job: get readers to keep reading. It also needs to include your primary keyword so Google knows what the post is about. Most bloggers either skip the intro or write a flat one that loses readers in the first sentence.
This free Blog Post Introduction Generator uses AI to write 4 strong opening paragraphs from any topic, title, or keyword in seconds. Built for blog posts and online articles, but it also works for essays, newsletters, and any other piece that needs a clean opening.
Key Use Cases for the AI Introduction Generator
We (Ryan and Andy) designed the AI introduction generator primarily for blog posts and online articles … but you can use it for more than blog posts!
It’s great for:
- Blog posts – craft introductions that are well-optimized for search engines.
- Articles – write an engaging intro to any non-fiction article.
- Essays – create a simple essay intro as a starting point.
- Emails – introduce your blog post/article in an email.
How to Use the AI Blog Post Introduction Generator
Four quick steps:
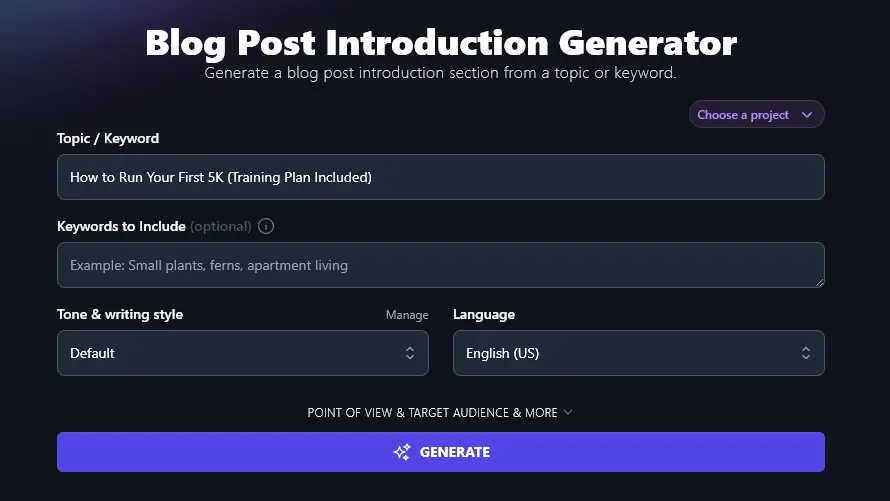
Step 1. Enter Your Topic/Keyword
The AI just needs a topic or keyword to craft your blog post introduction. Go ahead and enter that here.
Step 2. Add Any Keywords to Include (Optional)
Even if you put your keyword in the first box, the AI may interpret that as a title. To optimize around a specific keyword, make sure you enter it here.
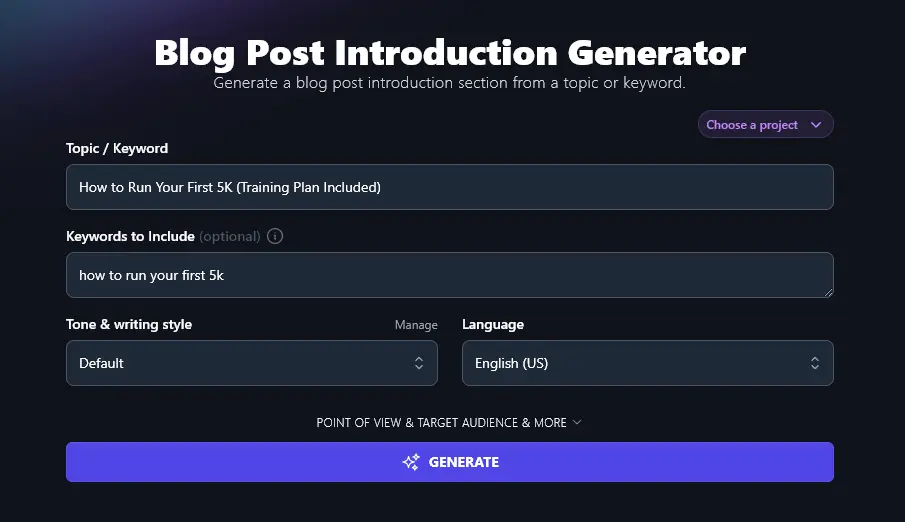
Tip: You can include more than one keyword, just separate them with commas.
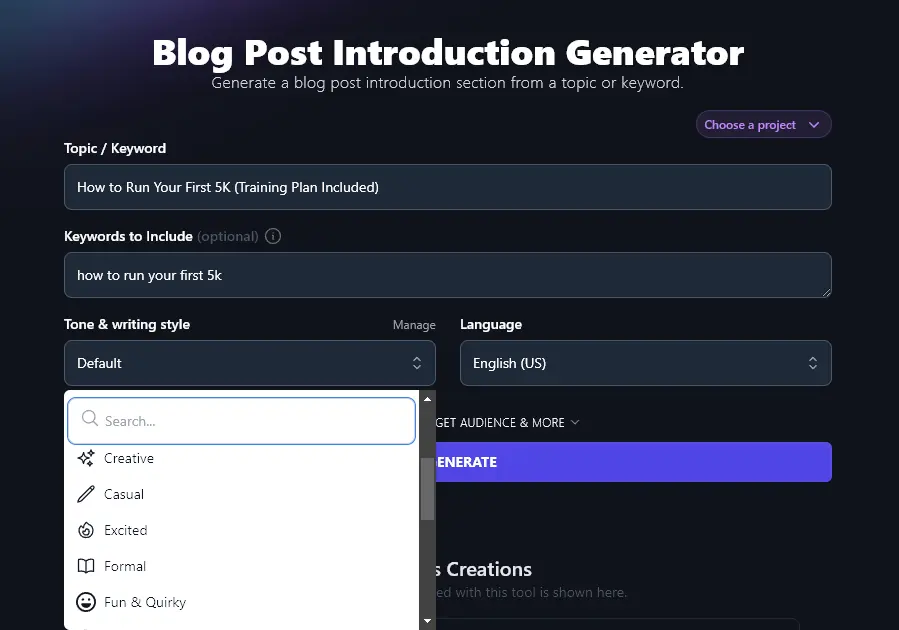
Step 3: Set the Tone & Writing Style
All RightBlogger’s generative AI tools let you choose a tone & writing style for your content. This helps make your content sound like you, so that it fits in smoothly with your brand.
You can choose from 20 pre-set tones & styles using the dropdown, like “Casual”, “Academic”, “Professional”, “Fun & Quirky”, “Irreverent” and more.
Step 4: Choose the Language for Your Introduction
By default, RightBlogger produces text in English (US) … but you can change this to any of 100+ other languages using the Language dropdown.
If you’re writing for a multilingual audience, or if your article is going to be in a language other than English, just pick from the list.
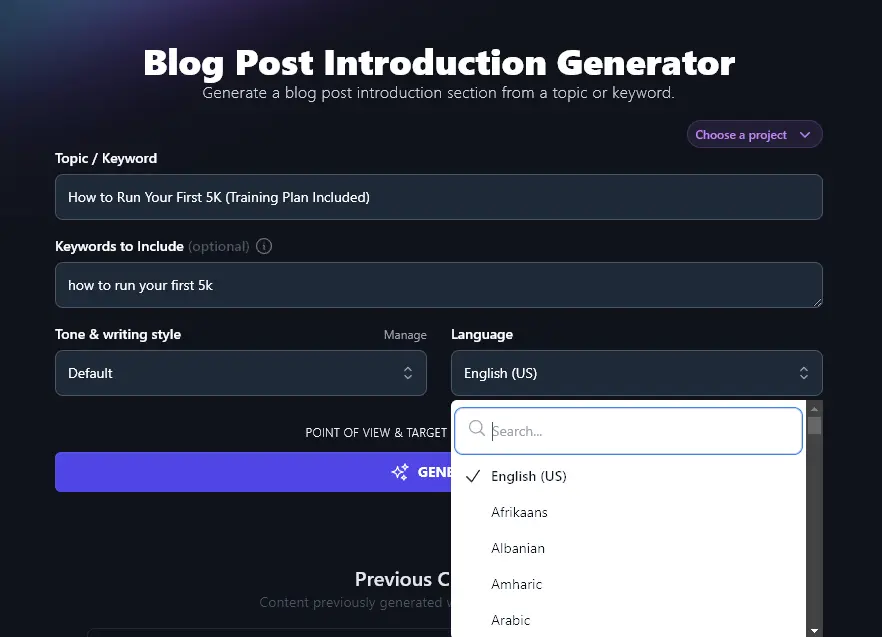
Tip: You can also choose different varieties of English. RightBlogger supports US English, UK English, Canadian English, and Australian English.
Once you’re happy with the options you’ve selected, go ahead and generate your introduction. The AI will come up with 4 different options for you to choose from. You can copy any (or all!) of them and paste them into your blog post or a separate document.
Bonus: My Free SEO Checklist
The AI intro generator helps with your SEO (search engine optimization) by including your primary keyword in your intro paragraph.
But there’s a lot more to SEO than that. This is my personal checklist for every post or page I publish:
- Install and use a good WordPress SEO plugin, like Yoast SEO or RankMath
- Always choose a suitable keyword for your post that works for your target audience
- Write subheadings that include keywords: great for faster indexing and for Google displaying rich snippets from your post
- Only have a single H1 header within your post: that’s your title at the top of the page
- In subheadings, use the right header hierarchy (H2 subsections then H3 sub-subsections nested within them)
- Use your primary keyword in your intro and naturally throughout your post
- Include plenty of internal and external links, with at least 3-5 external links
- Craft a meta description that includes your primary keyword (see our guide on how to write a meta description if you want the deeper playbook)
- Include alt descriptions for your images, using your keyword(s) where possible
- In most cases, aim to make your post 1,500 words or longer
- Write a strong meta title (SEO title) with your keyword at the start
- Put your primary keyword in the permalink (URL) for your blog post
Each Feature, Explained (Plus Advanced Options)
The advanced fields let you steer the AI more precisely:
1. Topic / Keyword (What’s Your Blog Post or Article About?)
For the AI to come up with a good intro, it needs to know what your blog post is all about. Pop in your full topic or working title here, if possible. While the blog post intro generator can come up with an intro paragraph just from a keyword, it may not quite fit the post you have in mind.
You can also use the Topic/Keyword box to ask for a slightly different style intro. Let’s say you want to introduce your blog post to your email audience, encouraging them to click through and read it.
We used this topic:
Write an introduction I can use in an email to promote my post “How to Run Your First 5K (Training Plan Included)”
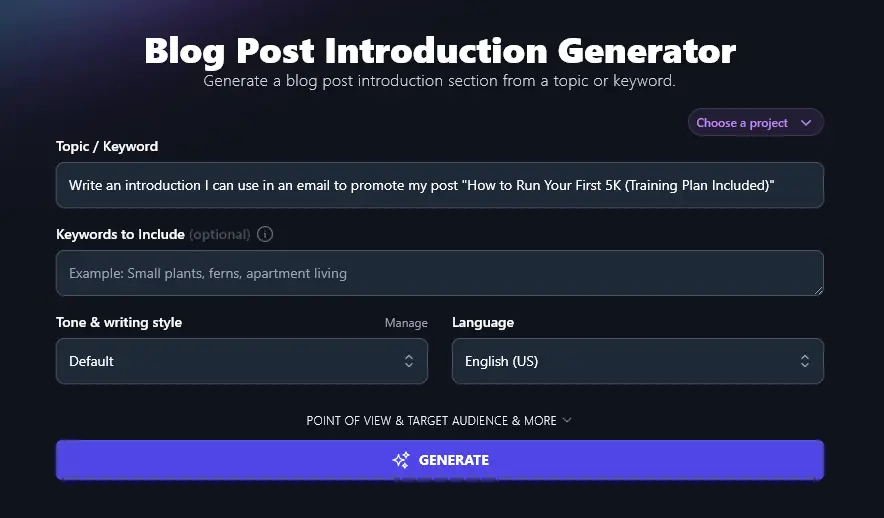
The AI came up with some great intros for our email, like:
Ready to run your first 5K? Whether you’re a beginner or just getting back into running, it’s easier than you think. With a no-nonsense training plan and expert tips, this post will help you reach the finish line feeling strong.
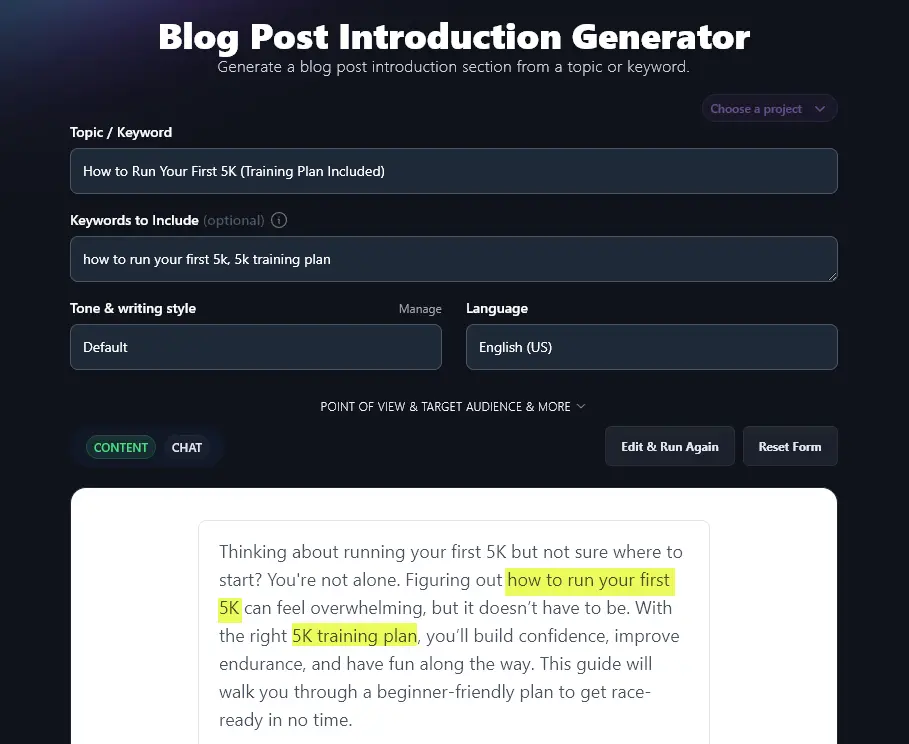
2. Keywords to Include (Add Your Primary and Secondary Keywords)
When you’re writing a blog post intro, it’s really important to include your primary keyword. Having your keyword near the start of your post helps Google know what your content is about, making it more likely you’ll rank for that keyword.
So that the AI knows the exact keyword you want, type it in the “Keywords to Include” box. It’s also a good idea to include any secondary keywords here. If you have lots, though, the AI won’t be able to work them into each introduction, so focus on the most important ones.
We’ve highlighted the 2 keywords that the AI has included, as requested:
3. Tone & Writing Style (Smoothly Match Your Intro to Your Post)
If you’re writing an intro to go with a post, article, or essay you’ve already drafted, you want the style to be a perfect fit.
While RightBlogger’s default style is designed to work well for most blogs, you can experiment with a whole range of different styles using the “Tone & writing style” dropdown.
For example, if you’ve written a more academic article, then “Academic” is probably the best fit. The “professional” style could suit some B2B content well. And if you’ve got a strong, unconventional blogging voice, then “Fun & quirky” or “Irreverent” might be perfect for you.
Quick look at how style can change the same intro, for a post “How to Run Your First 5K (Training Plan Included)”:
“Fun & quirky” style:
Nervous about your first 5K? Don’t sweat it (yet). It’s easier than it sounds with a solid plan in place. We’ll walk you through how to run your first 5K, keep it fun, and avoid rookie mistakes. Trust us, if you can walk, you can do this!
“Professional” style:
Running your first 5K can feel intimidating, but it doesn’t have to be. With the right preparation and a clear plan, anyone can go from beginner to the finish line. In this post, you’ll learn how to run your first 5K with practical steps and a training schedule designed for success. Let’s get you moving.
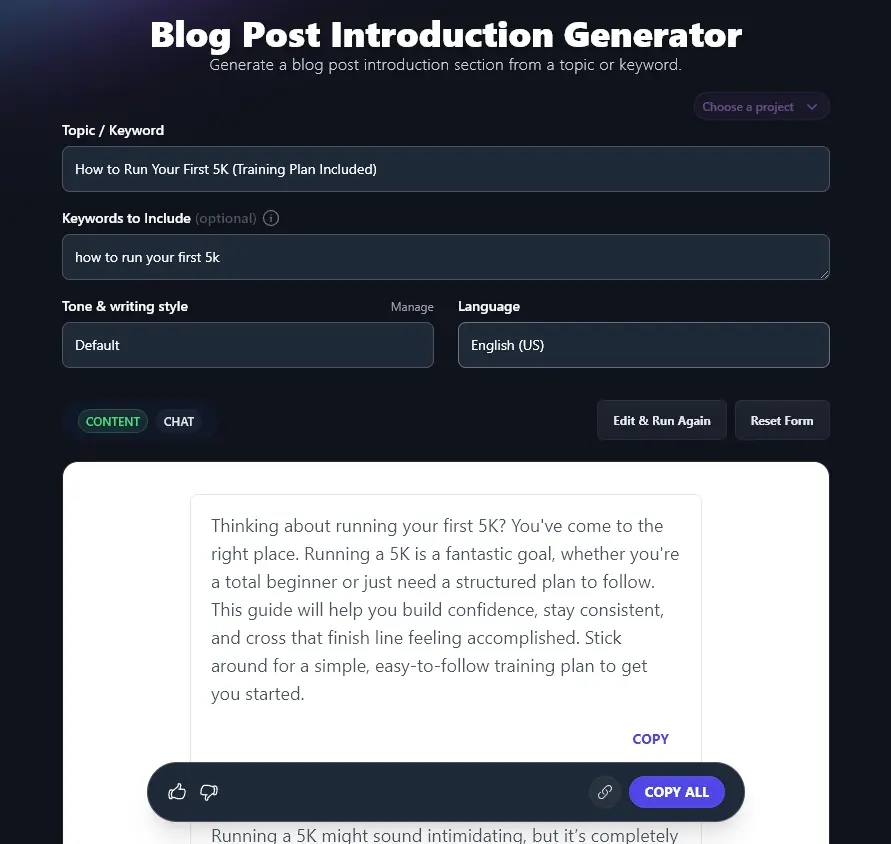
“Empathetic” style:
Thinking about running your first 5K but not sure where to start? You’re in the right place. Learning how to run your first 5K can seem tough, but with the right plan, it’s absolutely doable. This post gives you simple, step-by-step training tips designed for beginners. By race day, you’ll feel ready and excited to take on the challenge.
Tip: Want to go further with styles? Our Pro plan gives you access to MyTone. This lets you create up to 5 completely custom tones of voice, based on samples of your writing.
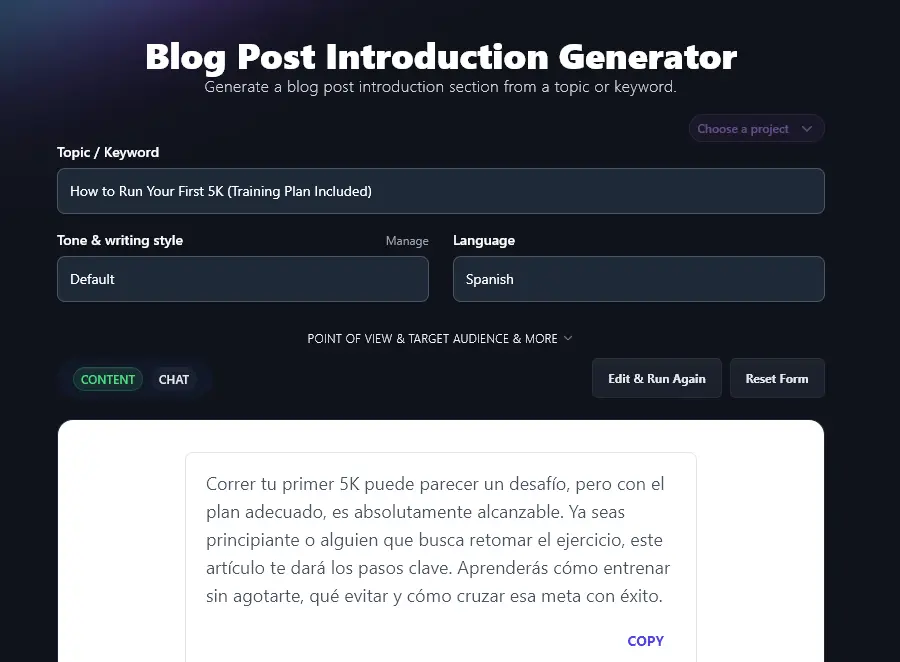
4. Language (Choose from 100+ Languages)
RightBlogger can instantly write your post intro in any of over 100 different languages. This is a great option if you write in a language other than English, or if you’re writing for a multilingual site where you want content in a range of languages.
Just select your preferred language from the dropdown and run the generator. You’ll see your intro variations in that language:
5. Point of View (Select the Right Perspective for Your Intro)
To open up the advanced options for the blog post intro generator, click the “Point of View & Target Audience & More” link.
Most blog posts are written to “you”, the reader. But what if you want something different? The Point of View dropdown lets you choose a viewpoint so you can create the perfect introduction.
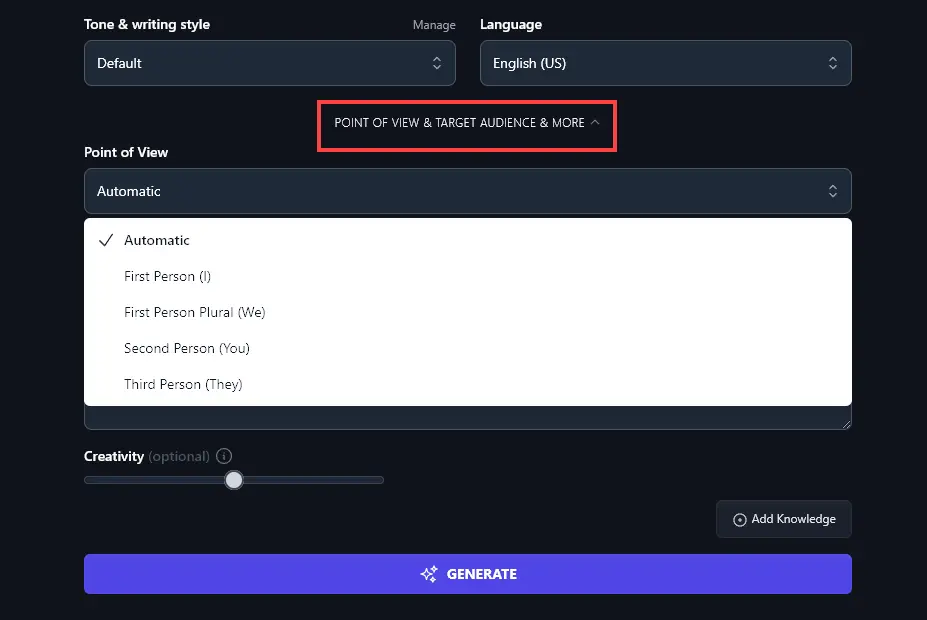
The options are:
- Automatic (the default): The AI comes up with what it thinks is the best point of view, based on your topic/title
- First Person (I): The AI will generate an intro that comes from your perspective as the blogger
- First Person Plural (we): The AI will write from a plural perspective, as if you’re standing alongside the reader
- Second Person (you): The AI will focus on the reader, writing directly to them.
- Third Person (they): The AI will write in a more neutral tone, using “they” instead of “you”, useful if you’re talking about mistakes or something sensitive.
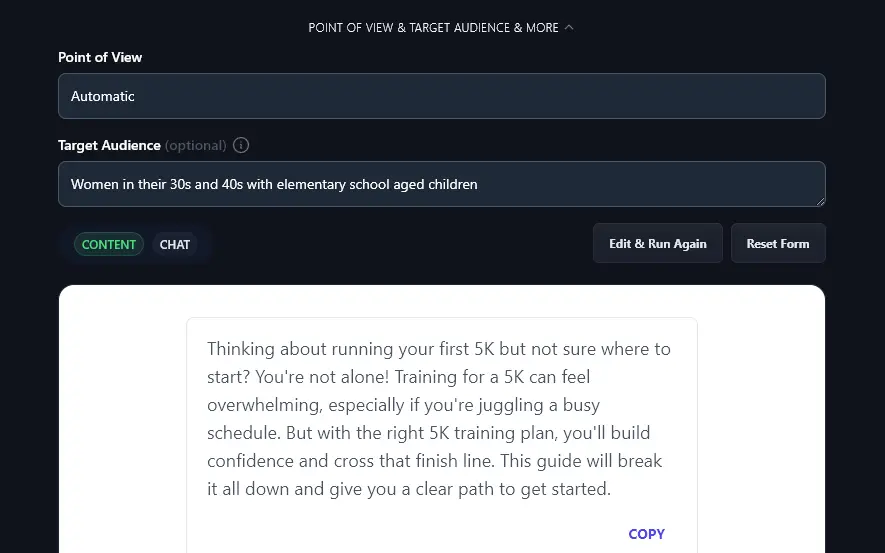
6. Target Audience (Who is Your Article Aimed At?)
Another great way to refine your intro is to tell the AI a bit about your target audience. That might include demographic details, like age, gender, and location, as well as psychographic details like their values, hopes, and interests.
Here, we gave the AI a target audience of “women in their 30s and 40s with elementary school-aged children.” You can see it has taken this into account, acknowledging the reader’s busy schedule.
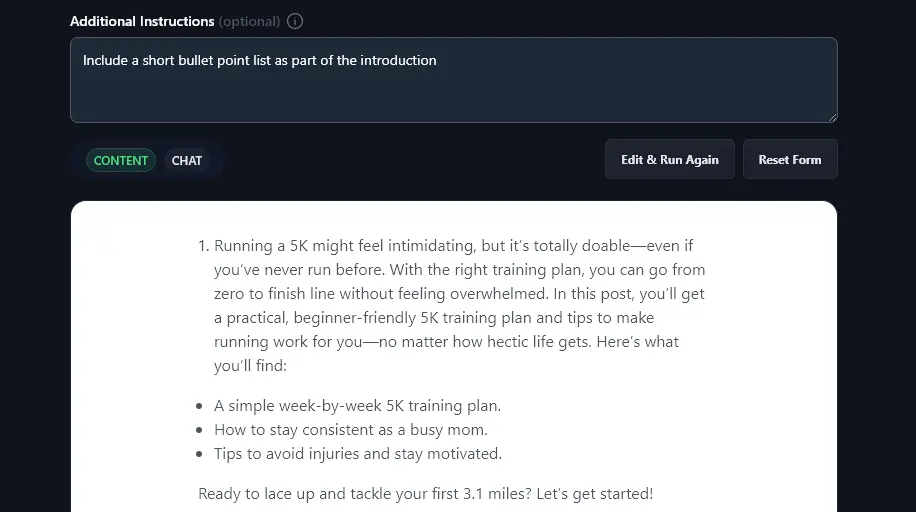
7. Additional Instructions (Tell the AI Anything Else You Want)
If there’s anything extra you’d like the AI to include in your intro, or a particular way you want it formatted, just add that in the “Additional Instructions” box.
Here, we asked the AI to include a short bullet point list within the intro:
Tip: Writing lots of intros? If you have the RightBlogger Pro plan, you can set up a Project. This lets you set up tone, language, audience, additional instructions, and more, and you can then use these again and again across all RightBlogger’s different tools.
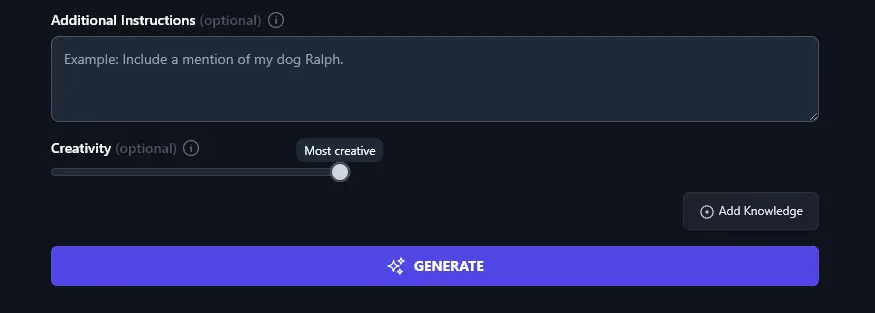
8. Creativity (Pick How Conventional or Unusual to Make Your Intro)
By default, RightBlogger’s AI aims to find the perfect balance between being creative and being conventional. You don’t want an intro that sends your readers to sleep … but equally, you don’t want one that’s so wacky, it confuses them.
If you feel the default creativity level isn’t quite right for your intro, though, you can adjust it here by moving the Creativity slider.
AI Blog Introduction Generator FAQs
Can I Use the Blog Introduction Writer as an Introduction Paragraph Generator?
Yes! You can use this tool to write an introductory paragraph for any article or even essays and research papers. It writes fairly short paragraphs by default, so if you want something longer, you can use the Additional Instructions to request that.
Tip: If you’re using the introduction generator tool for academic papers, set the tone & writing style to “Academic” and include the additional instruction “This is an academic essay, not a blog post. Do not refer to ‘post’ or ‘article’ in the intro. Use ‘essay’ instead.”
What Makes a Good Introduction to a Blog Post?
A strong blog post introduction needs to:
- Get the reader’s attention, encouraging them to read on.
- Include your keyword and clearly introduce your topic (good for readers and search engines).
- Set expectations for what your post is going to deliver.
- Match the tone and style of the rest of your post.
If you have the RightBlogger Pro plan, you can customize or extend your introduction using the Chat feature.
Tip: Engaging introductions often pose a question, or raise one in the reader’s mind. For inspiration, study how strong posts open, see our roundup of 21 great blog post examples.
What Other AI Tools Can I Use to Write Content?
Once you’ve used the blog introduction maker for your generated introduction, you may want a hand with the rest of your post. RightBlogger is packed with AI content creation tools for you to use at different stages of the writing process. These include:
Article Writer: Draft full blog posts or articles from a title or keyword, never struggle with writer’s block again!
Smart Suggest: Clever brainstorming tool that comes up with blog post ideas based on your website content.
Post Outline: Create an outline that’s designed for good SEO and reader engagement.
Post Conclusion Generator: Write a concluding paragraph for your blog post.
Rewriter: Edit your own or AI text to put it into different words, automatically.
As well as all our writing tools, we also have social media tools, sales tools, and more. We’ve got 100+ tools in total and we’re adding new ones all the time.
Is This a Free Introduction Generator?
Our AI-powered blog introduction writer is included in every RightBlogger plan. Plans start at $49/mo with unlimited AI words, so you can create as many introductions as you need.
Every RightBlogger plan includes unlimited AI words, so you can produce as much content as you need. Choose Solo ($49/mo), Pro ($69/mo), or Agency ($199/mo) depending on your needs.
Who is the AI Introduction Generator Designed For?
We created the intro generator for anyone looking to write blog post introductions, including bloggers, content creators, content marketers, SEO professionals, small business owners, and anyone writing content for the web.
It’s also a good tool for creating a well-crafted introduction for other writing projects, like articles, essays, email newsletters, and more.
How Do I Sign Up for RightBlogger and How Much Does it Cost?
You can sign up for RightBlogger to try out our tools, including the blog introduction maker. Every plan comes with a 30-day money-back guarantee.
All plans include features like MyTone, Projects, the Knowledge Library, Chat, and more. See our plans to find the right fit for you.