How to Use MyTone
Train a reusable voice from text, URLs, or videos, then apply it in any tool.

Are you looking to include your unique writing style into every piece you create on RightBlogger? MyTone is your go-to feature, available on every plan.
This powerful feature in RightBlogger allows your personality and tone to shine through in your writing, making your content as unique as you are.
Whether you’re new to RightBlogger or want to get more from your subscription, this guide will show you how to use MyTone to customize your writing style with AI.
Getting Started with MyTone
MyTone is located within your RightBlogger account settings, easily accessible to all RightBlogger users. If you’re using a free account, consider upgrading to a pro account to unlock more MyTone styles, among many other features.
How to Add Your Tone
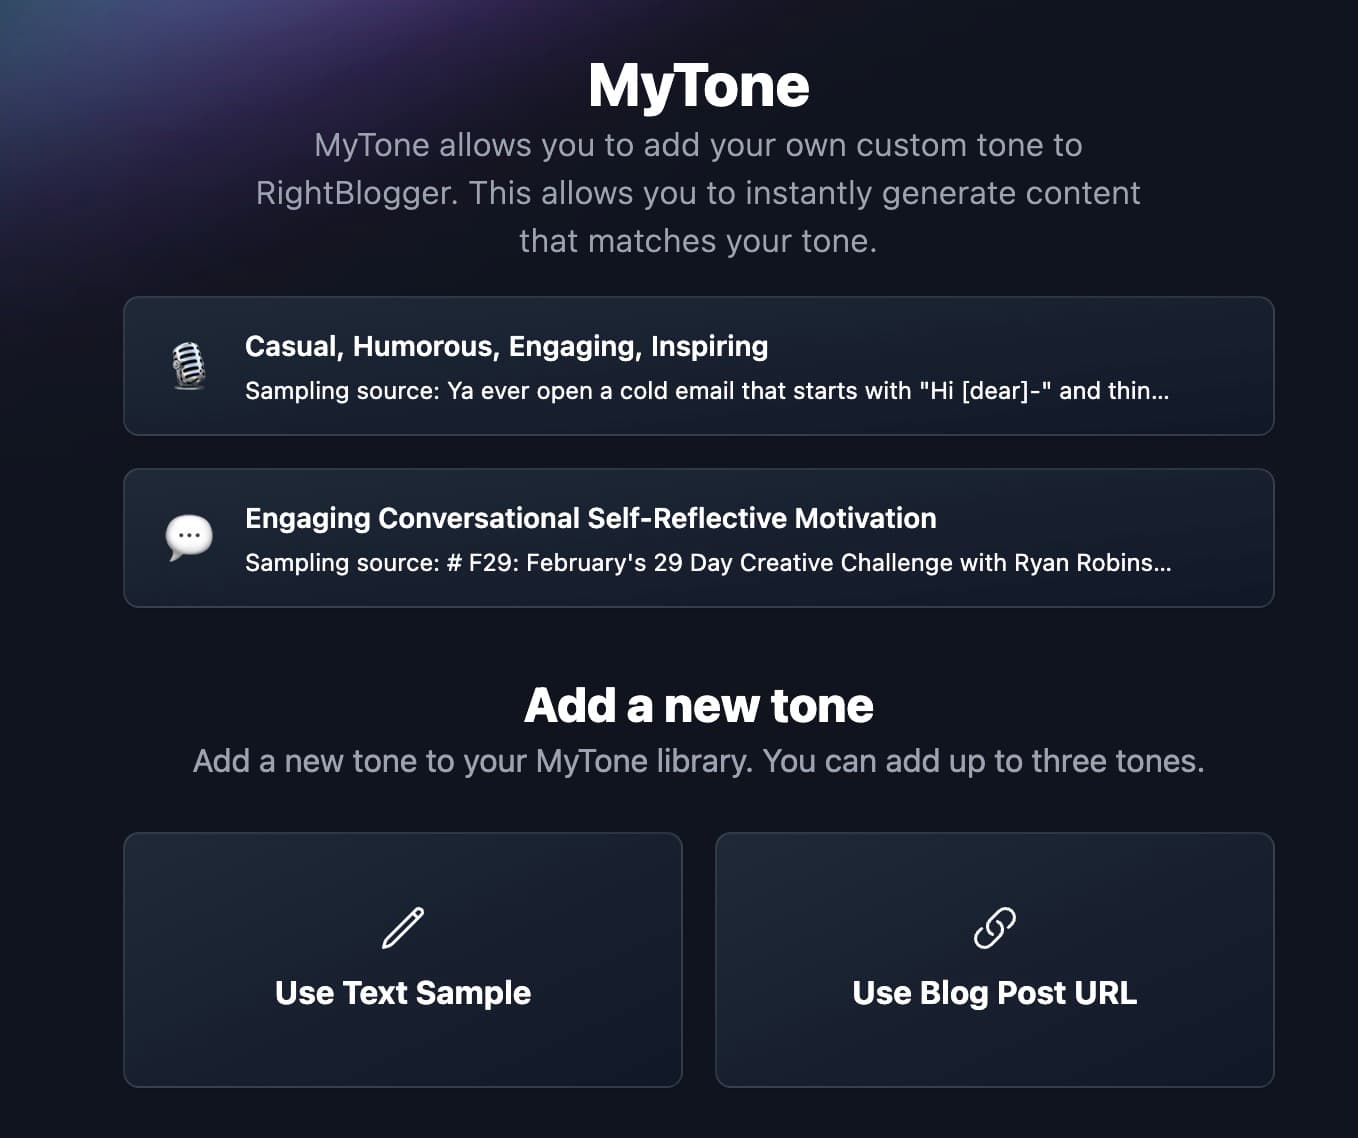
- Navigate to MyTone: Head over to the account bar at the top of your screen, click on “Account,” and select “MyTone” from the drop-down menu. You’ll land on the MyTone page, your first step towards personalized writing.
- Input Your Writing Sample: MyTone needs to understand your unique style. You have two options here:
- Use Text Sample: Ideal for when you want to train MyTone with a specific piece of text. Simply click on “Use Text Sample” and paste your text into the provided field.
- Use an Existing Blog Post or YouTube video: Want to use your previous work as a base? Paste the URL of one of your blog posts, articles, or YouTube videos, and MyTone will fetch the content from multiple sources for you. It’s a quick and easy way to let MyTone analyze your writing style.
- Manually describe a tone: Have a writing style you manually want to write out? This will let you manually create a writing style in your own words. This is great if you have a writing style prompt you use in ChatGPT or just want to manually write one out.
Once you’ve input your writing sample or blog post, hit the “Analyze and Add” button. MyTone will then scrutinize your writing, identifying nuances of your style and tone.
This process takes a few seconds. After that, MyTone categorizes your writing style: educational, engaging, respectful, or storytelling. You’ll see a snapshot of your style with a sample source and a visual representation, making it easier to find when selecting your writing style in tools.
Additionally, if you are an advanced user, you can edit your MyTone prompt or enable/disable the “Improve Readability and Humanize?” option, which optimizes your prompt with techniques designed to enhance outputs from RightBlogger tools.
Using Your Custom MyTone
With your tone now added to MyTone, you can start applying it across various RightBlogger tools.

- Try It Out with the Paragraph Generator: Head to the tools section and select the paragraph generator. Input a sentence or idea, choose your newly created MyTone, and hit generate. You’ll see content crafted in your style, which shows how MyTone adapts to your writing.
Don’t hesitate to experiment with different tones, articles, videos, or text samples. And if you don’t have existing content to use, just type out what you want, keeping in mind there’s a minimum text amount required for optimal training.
Remember, you can manage multiple tones at any given time. Feel free to delete and add tones as needed, ensuring your writing stays fresh and aligned with your evolving style.
Conclusion
MyTone in RightBlogger makes your voice clear and consistent across tools. Think of it as a way of training your AI to sound like you.
This is done by adding a text sample or URL, clicking analyze, and then using your tone in different tools. Like we just showed you can edit the prompt or toggle Improve Readability and Humanize if you want to be super detailed for specific results.
Upgrade to a pro account to unlock more styles and options.
Try it today, then share which tone gave you the best lift.
MyTone sets your baseline voice. To fine-tune further from real generations (without rewriting your tone sample), see How to teach the AI in your project.
Automated SEO Blog Posts That Work
Try RightBlogger for free, we know you'll love it.


