Blog Post Conclusion Generator
Generate a blog post conclusion section from a phrase or keyword.
Most blog posts trail off at the end. A strong conclusion turns a good post into a useful one, it sums up what readers learned, then tells them what to do next.
This free Blog Post Conclusion Generator uses AI to write a polished closing paragraph from any topic, title, or keyword in seconds, so your posts actually finish well. It also works for articles, essays, reports, and anywhere else that needs a clean ending.
Key Use Cases for the AI Conclusion Generator
We (Ryan and Andy) had bloggers in mind when we created the conclusion generator … but you can use it for other types of content too.
It’s great for:
- Blog posts – create strong conclusions that end your post well.
- Articles – round off your article in a professional way.
- Essays – include a solid conclusion to your argument.
How to Use the AI Blog Post Conclusion Generator
Four quick steps:
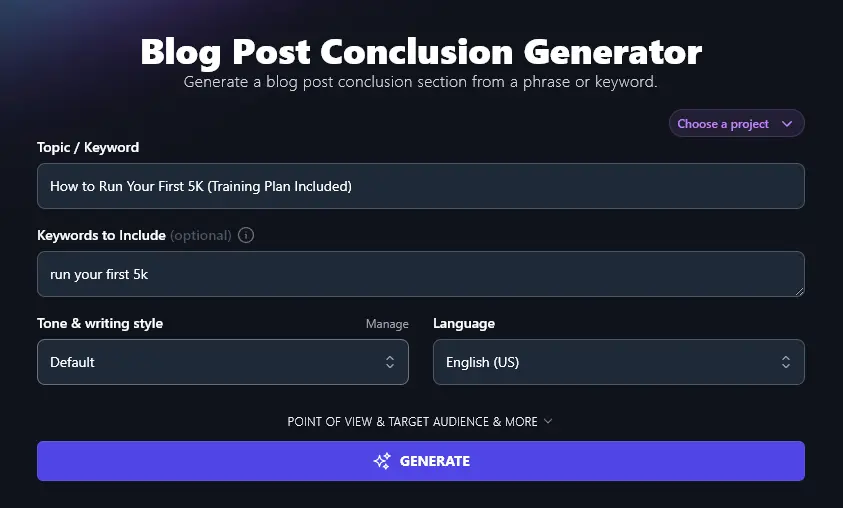
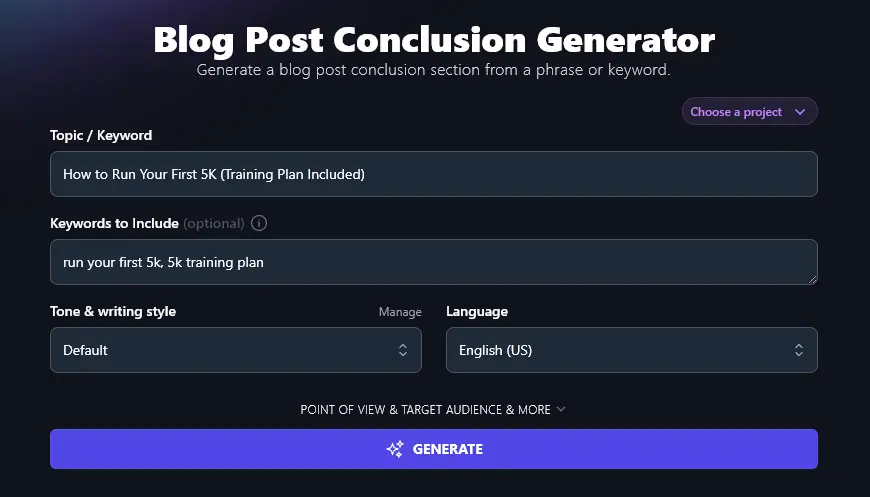
Step 1. Enter Your Topic / Keyword
To write a conclusion, the AI needs to know what your post is all about. Pop in your topic, title, or keyword here.

Step 2. Add Any Keywords to Include (Optional)
While conclusions aren’t as important for SEO as blog post introductions, it’s still a good idea to incorporate your keyword at some point. Put it in the Keywords to Include box so the AI knows to add it in.
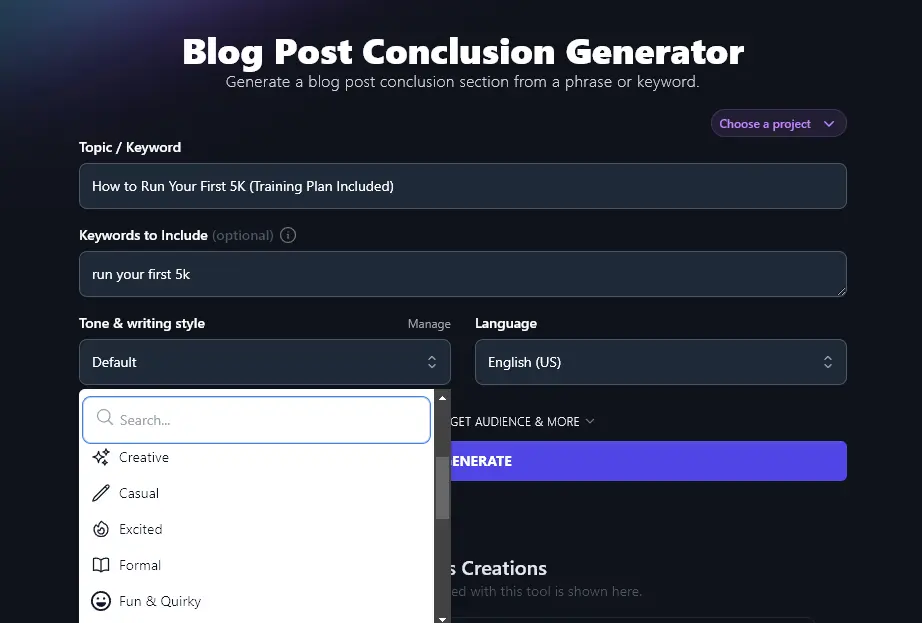
Step 3. Set the Tone & Writing Style
Your conclusion needs to match the tone and style of the rest of your post, otherwise it’ll feel jarring or confusing to the reader.
The Default style works for most posts. If it’s not quite the right fit, experiment with the dropdown: 20 options including Casual, Professional, Academic, and Irreverent.
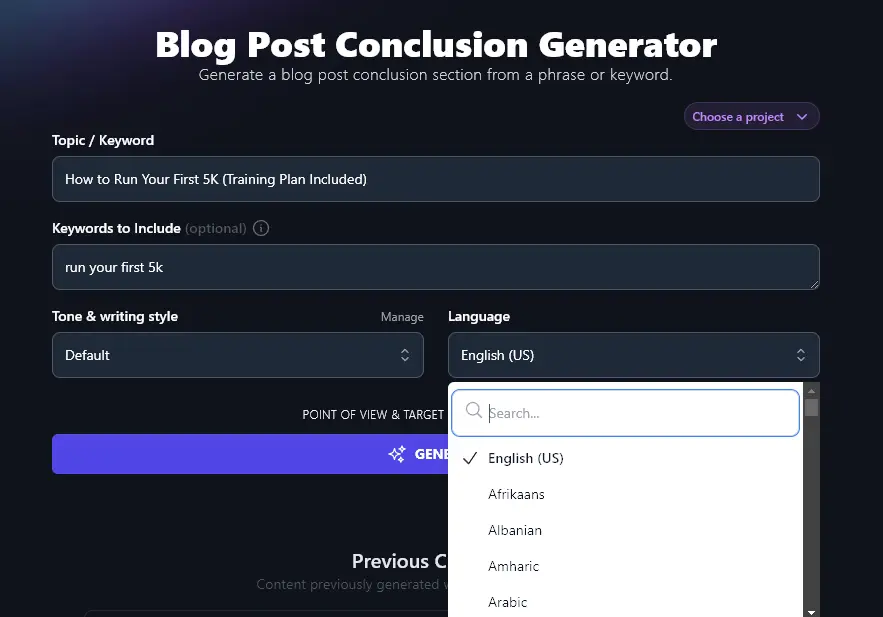
Step 4. Choose the Language for Your Conclusion
RightBlogger can produce content in 100+ languages, so if you want an option other than English (US) for your conclusion, just select it from the dropdown.
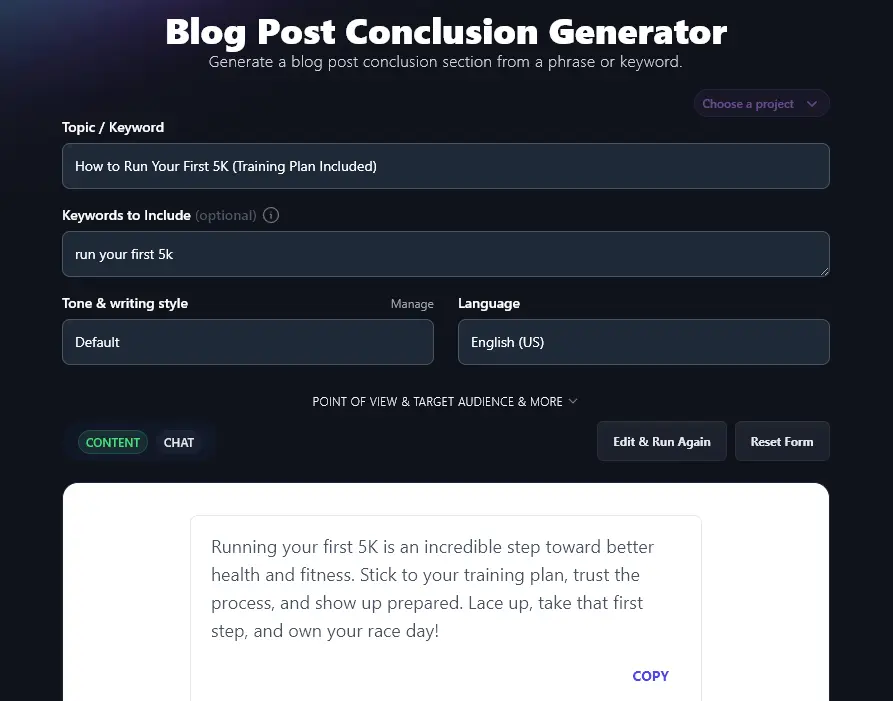
Once you’ve selected the options you want, go ahead and run the conclusion generator. It’ll come up with 4 different variations for you:
Bonus: My Free SEO Checklist
The AI conclusion generator helps out with your SEO by including your keyword in the text. But there’s plenty more you can do to help your post rank well in Google, see our roundup of 15 blogging mistakes hurting your traffic for the things that actually matter.
This is my personal SEO (search engine optimization) checklist:
- Use a WordPress SEO plugin: we find Yoast SEO or RankMath are great options
- Pick a relevant, achievable keyword for your post that’s a good fit for your target audience
- Craft your subheadings to include keywords: improves indexing and can help Google display rich snippets from your post
- Make sure your post only has one H1 header, the title at the top of the page
- Use H2 for subheadings and H3 for sub-subheadings (proper header hierarchy helps Google understand your post)
- Use your main keyword in a natural way: don’t keyword-stuff
- Have a mix of internal and external links (at least 3 external links)
- Give your post a meta description that includes your keyword and engages readers
- Use your keyword in alt descriptions for your images, where relevant
- Aim for the right length of post: usually, that means 1,500 words or longer
- Craft a powerful meta title (SEO title) that includes your keyword at the beginning
- Use your keyword within your blog post permalink (URL)
Each Feature, Explained (Plus Advanced Options)
The advanced fields let you steer the AI more precisely:
1. Topic / Keyword (What’s Your Blog Post or Article About?)
The post conclusion generator needs a clear topic or keyword. Ideally, you’ll have a working title for your post that you can put in here.
The more specific your topic is, the better-tailored your conclusion will be to your post.
2. Keywords to Include (Add Your Primary and Secondary Keywords)
The conclusion generator will aim to incorporate your keywords to improve your on-page SEO. Make sure you add your primary keyword, plus any secondary keywords that you’re hoping to rank for, into the Keywords to Include box.
Separate your keywords with commas.
3. Tone & Writing Style (Make Your Conclusion Fit Your Post)
You don’t want your conclusion to feel like an awkward afterthought. It’s important it aligns with your usual tone and style.
RightBlogger comes with 20 built-in options here. They can make a big difference to the “feel” of your writing.
Quick examples in different tones:
Excited:
Running your first 5K is a milestone worth celebrating. Stick to the training plan and enjoy the journey. Lace up, trust the process, and take that first step today!
Formal:
The road to running your first 5K isn’t just about the race. It’s about personal growth. Follow your 5K training plan, celebrate your milestones, and keep pushing forward. Your commitment today is shaping a stronger tomorrow.
Persuasive:
Completing your first 5K starts with preparation and a positive mindset. This 5K training plan is your blueprint. Believe in your ability, take it step by step, and enjoy the rewards of your hard work. Let’s get out there and make it happen!
Tip: You can create your own custom tones using RightBlogger’s advanced feature MyTone (available on the Pro account). Once you’ve created a MyTone, you can use it across all RightBlogger’s generative AI tools.
4. Language (Choose from 100+ Languages)
RightBlogger defaults to English (US) … but there are more than 100 different languages you can choose from. If you’re writing a conclusion for a blog post that’s not written in English, just pick the language you want here.
There are also 4 different varieties of English available (US, UK, Canadian, and Australian). So if you’re in one of those regions, just select the type of English that will work for your audience.
Here, the AI has adjusted the spellings of “color” and “favorite” for a UK English audience:

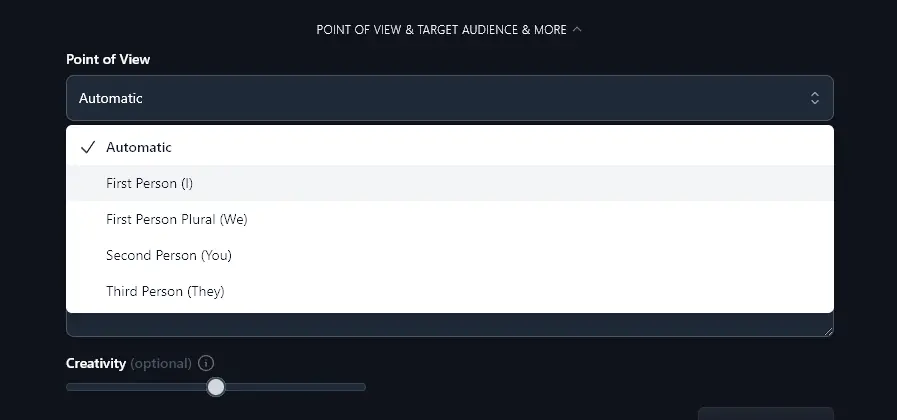
5. Point of View (Select the Perspective for Your Conclusion)
The post conclusion generator has some advanced options that you can open up by clicking on the “Point of View & Target Audience & More” link.
The first of these is the Point of View selector. The default point of view will usually work fine for your piece, but if you want to adjust this, you can choose from:
- First Person (I) – good for conclusions to posts that focus on your own experience
- First Person Plural (We) – perfect if you want to position yourself alongside the reader
- Second Person (You) – the most conventional option for blogging, centering the reader
- Third Person (They) – a neutral option that’s useful if you’re talking about mistakes or something controversial
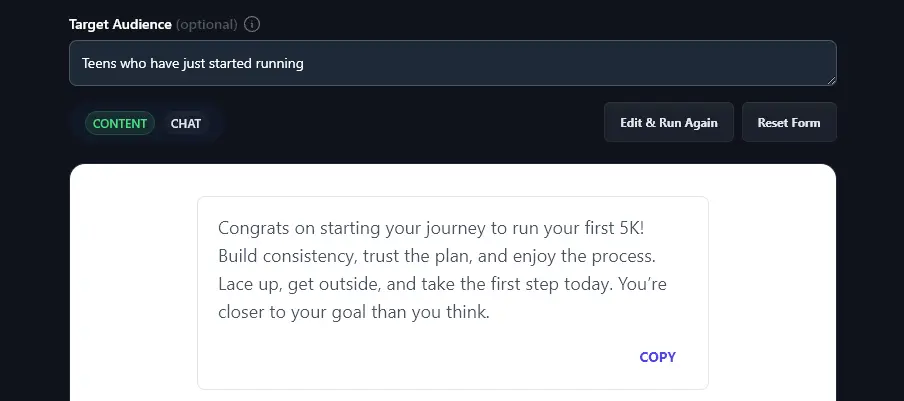
6. Target Audience (Who is Your Piece Aimed At?)
It’s often helpful to tailor your conclusion to the needs of your readers. You can give RightBlogger’s AI any demographic or psychographic information you have, such as “Teens who have just started running”
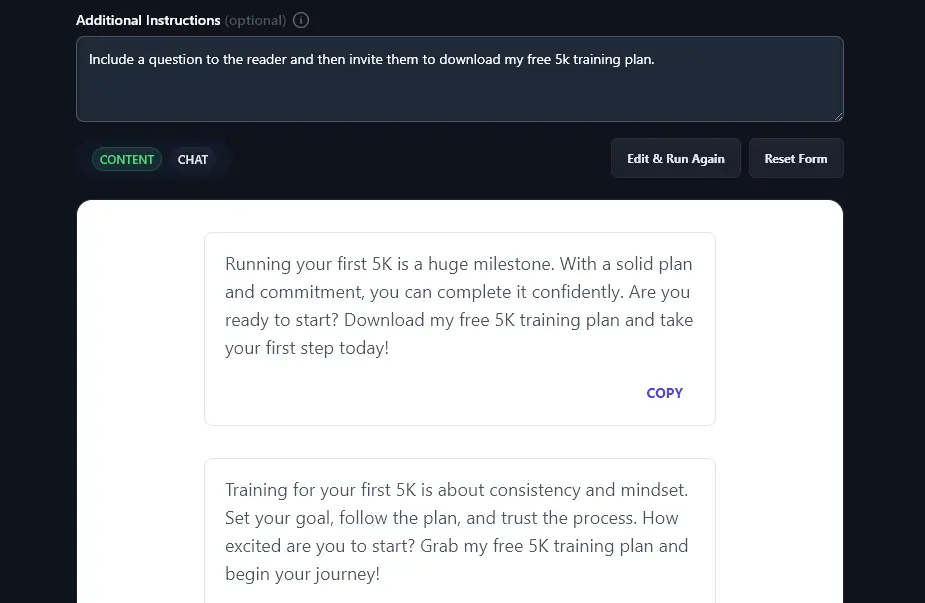
7. Additional Instructions (Give the AI Any Details or Constraints)
Got specific requirements? Maybe you always end with a question, or you want certain key points included. Tell the AI exactly what you want here and it’ll incorporate them.
Here, we asked the AI to “Include a question to the reader and then invite them to download my free 5k training plan.”
8. Creativity (Pick How Conventional or Unusual Your Conclusion Should Be)
By default, RightBlogger aims for a good middle ground here: clear, but with enough originality to not feel templated.
If you feel that your conclusion needs to be a bit more conventional (or a bit more unusual), then use the Creativity slider to change things up.

AI Blog Conclusion Generator FAQs
Can I Use This Tool as a Conclusion Paragraph Generator?
The blog conclusion generator is designed to write compelling conclusions to blog posts, with a tiny bit of tweaking, you can use it as a conclusion maker for academic essays and research papers. It’s a good way to come up with a draft or inspiration for your concluding paragraph.
When using the tool for academic papers, we recommend the following settings to get a generated conclusion that works for academic writing:
- Tone & Writing Style: Academic
- Additional Instructions: This is the conclusion for an essay, not a blog post. Do not refer to “blog”, “post”, or “article” in the conclusion. Do not end the conclusion with a question, but instead sum up an argument from the essay.
You could also include your thesis statement in the additional instructions, so that your conclusion ties in with this.
How Do I Write a Good Conclusion?
Effective conclusion will sum up the message of your piece (whether it’s a blog post, essay, or something else).
You also want your conclusion to make a lasting impression. The best conclusions either inspire the reader or give them something concrete to do next. For inspiration, study how strong blog posts close out, see our roundup of 21 great blog post examples.
What Other AI Tools Can I Use to Write Content?
RightBlogger has loads of advanced AI tools to help you create high-quality content at all stages of the writing process.
You’ll want to check out these content creation tools:
The Article Writer: User-friendly AI-powered tool to instantly write blog posts from a keyword or topic
The Post Ideas Generator: Quickly come up with great ideas for your blog post
The Blog Outline Generator: List all the main points and subheadings for your post in seconds
The Summarizer: Great for researching large volumes of content quickly
The Paragraph Rewriter Tool: Rework a short passage of text, e.g. to put it in your own words and avoid plagiarism (we also have the Paraphrase tool for paraphrasing)
Is This a Free AI Conclusion Generator?
Our conclusion generator is available with any RightBlogger account. It’s one of many tools in the RightBlogger suite, all designed to help you create better content faster.
(We do have usage limits in place, so if you want to generate a lot of text using our AI writing tools, you’ll need to upgrade to our paid Pro account.)
Who is the AI Conclusion Generator Designed For?
When we created the conclusion generator, we had in mind several groups of people, including bloggers, content creators and content marketers, SEO agencies producing content, small businesses with an online presence, and anyone else who might need a polished conclusion for a blog post or article.
Although we didn’t specifically design it as an essay conclusion generator, students can also use the tool as part of their workflow to draft an example conclusion for their essay. (Make sure you check your institution’s guidance on the use of AI technology.)
How Do I Sign Up for RightBlogger and How Much Does it Cost?
Sign up for RightBlogger and start writing stronger conclusions today.
If you’d like to create more content, we’ve kept RightBlogger’s pricing simple. Plans start at $49/mo with unlimited AI words and a 30-day money-back guarantee.