How to Switch to a Yearly Plan
Change billing in Stripe and pay only the yearly difference with prorated credit.
If you’re on a monthly RightBlogger plan, switching to yearly billing saves you money and simplifies your payments. You’ll get a prorated credit for whatever time is left on your current month, so you’re not paying double.
Don’t have a subscription yet? Head to the pricing page and choose yearly when you sign up.

How to Switch to Yearly
1. Go to your account page
Log into RightBlogger and open your account page.
2. Click “Manage Subscription on Stripe”
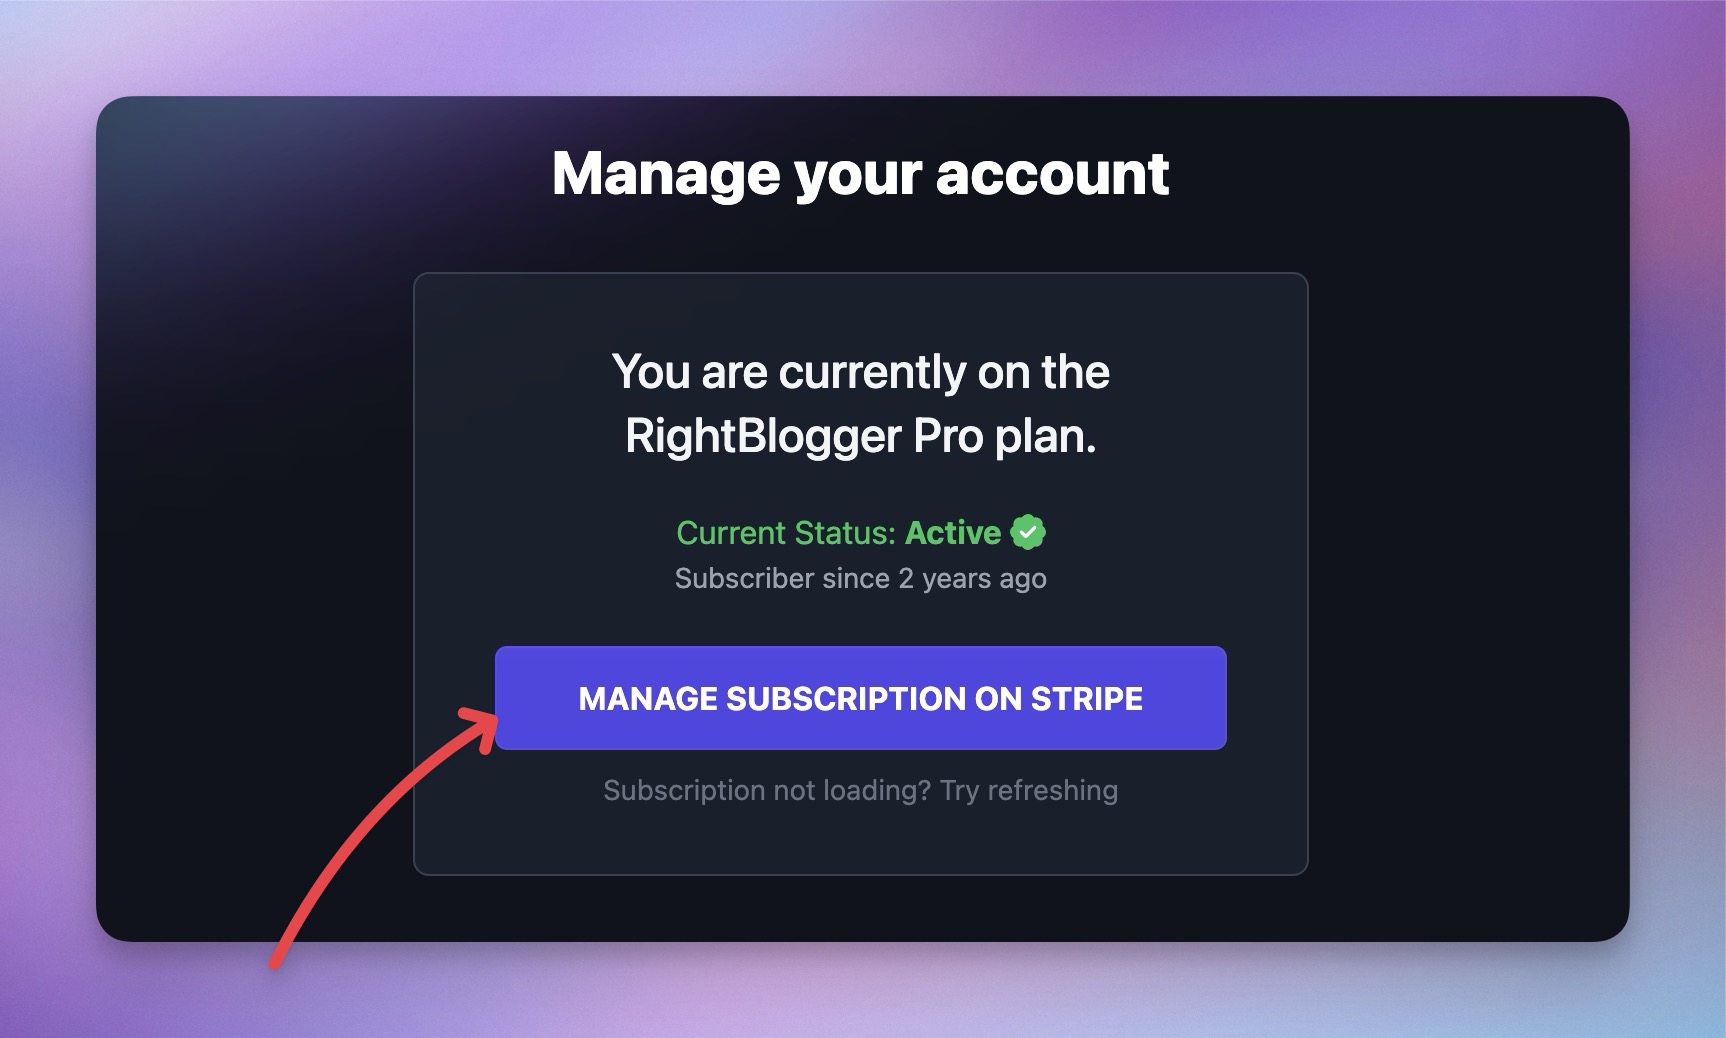
This opens your Stripe billing dashboard where you can view and change your plan details.
3. Click “Update Plan”
In the Stripe dashboard, click Update Plan. You’ll see all available subscription options, including yearly versions of your current plan.
4. Select the yearly option
Choose yearly billing. Stripe will show you a prorated price that credits the unused time on your current monthly plan, so you only pay the difference.
5. Confirm the change
Review the summary and confirm. Your yearly subscription starts immediately.
How Proration Works
When you switch mid-cycle, Stripe calculates a prorated credit for the unused days on your monthly plan and applies it to the yearly price. You’ll only be charged the difference.
The exact amount depends on where you are in your billing cycle. Stripe will show you the final number before you confirm, so there are no surprises.
Common Questions
Do I lose access to anything when I switch?
No. Your plan features, word limits, projects, and tools stay exactly the same. You’re just changing how often you’re billed.
Can I switch back to monthly later?
Yes. You can switch back to monthly billing the same way, through Stripe. The change takes effect at the end of your current yearly billing period.
Can I change my plan tier at the same time?
Yes. When you click Update Plan in Stripe, you can switch both your plan tier (e.g., Solo to Pro) and your billing cycle at the same time.
What if I have a coupon or discount?
Active coupons carry over to your new billing cycle. If you have a forever or repeating discount, it will continue to apply on the yearly plan.
What’s the refund policy?
RightBlogger offers a 30-day money-back guarantee. If you’re within 30 days of your original signup and not happy, email us for a full refund.
I’m having trouble with the switch. What do I do?
Email us at contact@rightblogger.com and we’ll sort it out for you.
New:Site Agent
Automated SEO Blog Posts That Work
Try RightBlogger for free, we know you'll love it.
- Automated Content
- Blog Posts in One Click
- Unlimited Usage


